
Wall construction
The alpha and omega of a sauna is the wall construction. It must of course be stable, but above all it must insulate well. The heat must of course remain in the cabin. The construction method is very different for solid wood saunas on the one hand and element saunas on the other.
The walls of solid wood saunas are – logically – built of solid wood, usually with battens that are at least 4.4 centimeters wide. But of course it also goes wider. The big disadvantage: that solid wood is not cheap due to its width; on the contrary. Moreover, as an amateur craftsman I felt better building an element sauna.
Element saunas are made up of different layers:
- An outer layer
- A beam construction
- Insulation
- Depending on the chosen insulation, also an aluminum vapor barrier
- Profiled timber (see Interior), with or without counter battens
As thin as possible, but …
Because the room is only 196 centimeters wide, it was very important to me to keep the sauna walls as compact (thin) as possible, without sacrificing stability and insulation value.
With ventilation
In addition to the thickness of the sauna wall, a ventilation distance must also be planned. A sauna should never be placed directly against a wall, because in that case the air behind it can no longer circulate. In that case there is a high risk of mold growth (due to the humidity and changing temperatures).
The recommended minimum distance between the sauna and the cellar wall is 5 centimeters. If you build the sauna next to an exterior wall (which is not always well insulated), it is better to plan a ventilation distance of 10 centimeters.
Since our house is a very well insulated new building, I decided to keep at least 5 centimeters of ventilation space on each side. As such, only 10 centimeters are “lost” in width for ventilation.
With stable walls
The sauna walls must of course be very stable. The sauna has a massive own weight, and the construction must of course also be able to support the sauna benches and the sauna guests. That is why I decided to build the walls with the following layers:
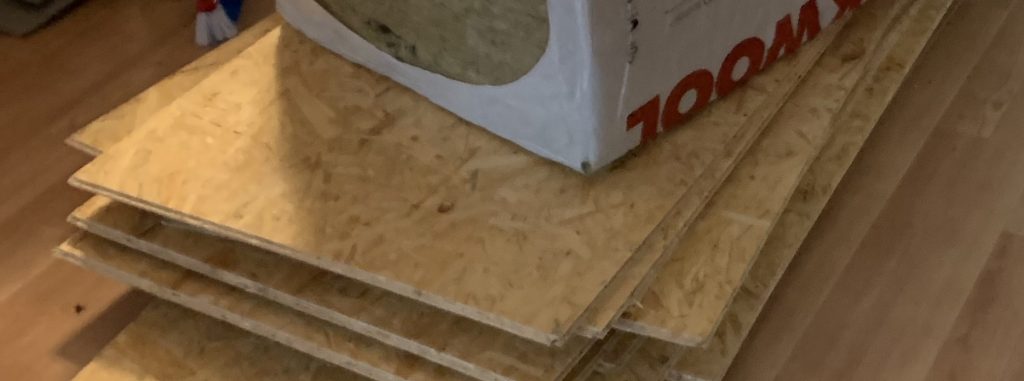
- Outer layer of the thinnest tongue and groove OSB plate I could find (1.2 centimeters)
- Beam construction (4.5 centimeters wide for the walls, 6 centimeter for the ceiling)
- Insulation (4 centimeter wide mineral wool)
- Aluminum vapor barrier (0.01 millimeter thick)
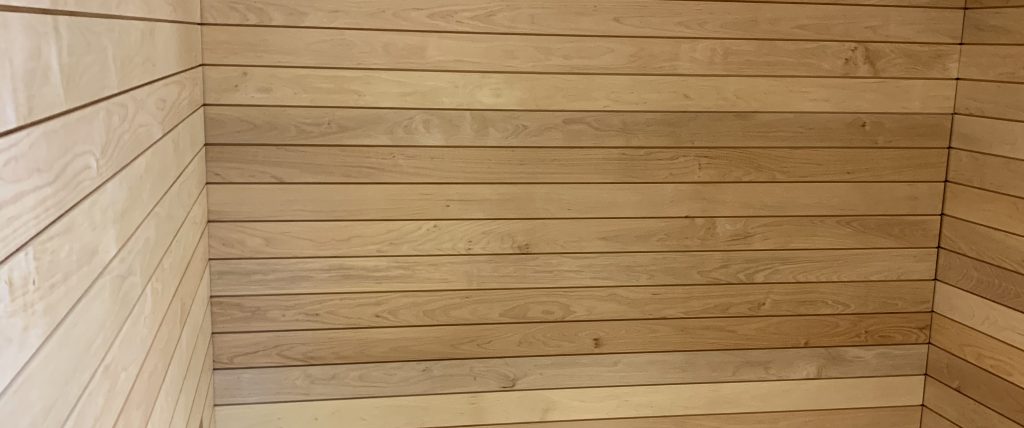
- Profile wood in alder without counter laths (1.5 centimeters thick)
- This results in a total wall thickness of 7.2 centimeters.
The visible outer walls of the sauna also have profile wood (alder) along the outside, identical to the interior. Those walls (or parts of walls) are therefore 3 millimeters thicker again.
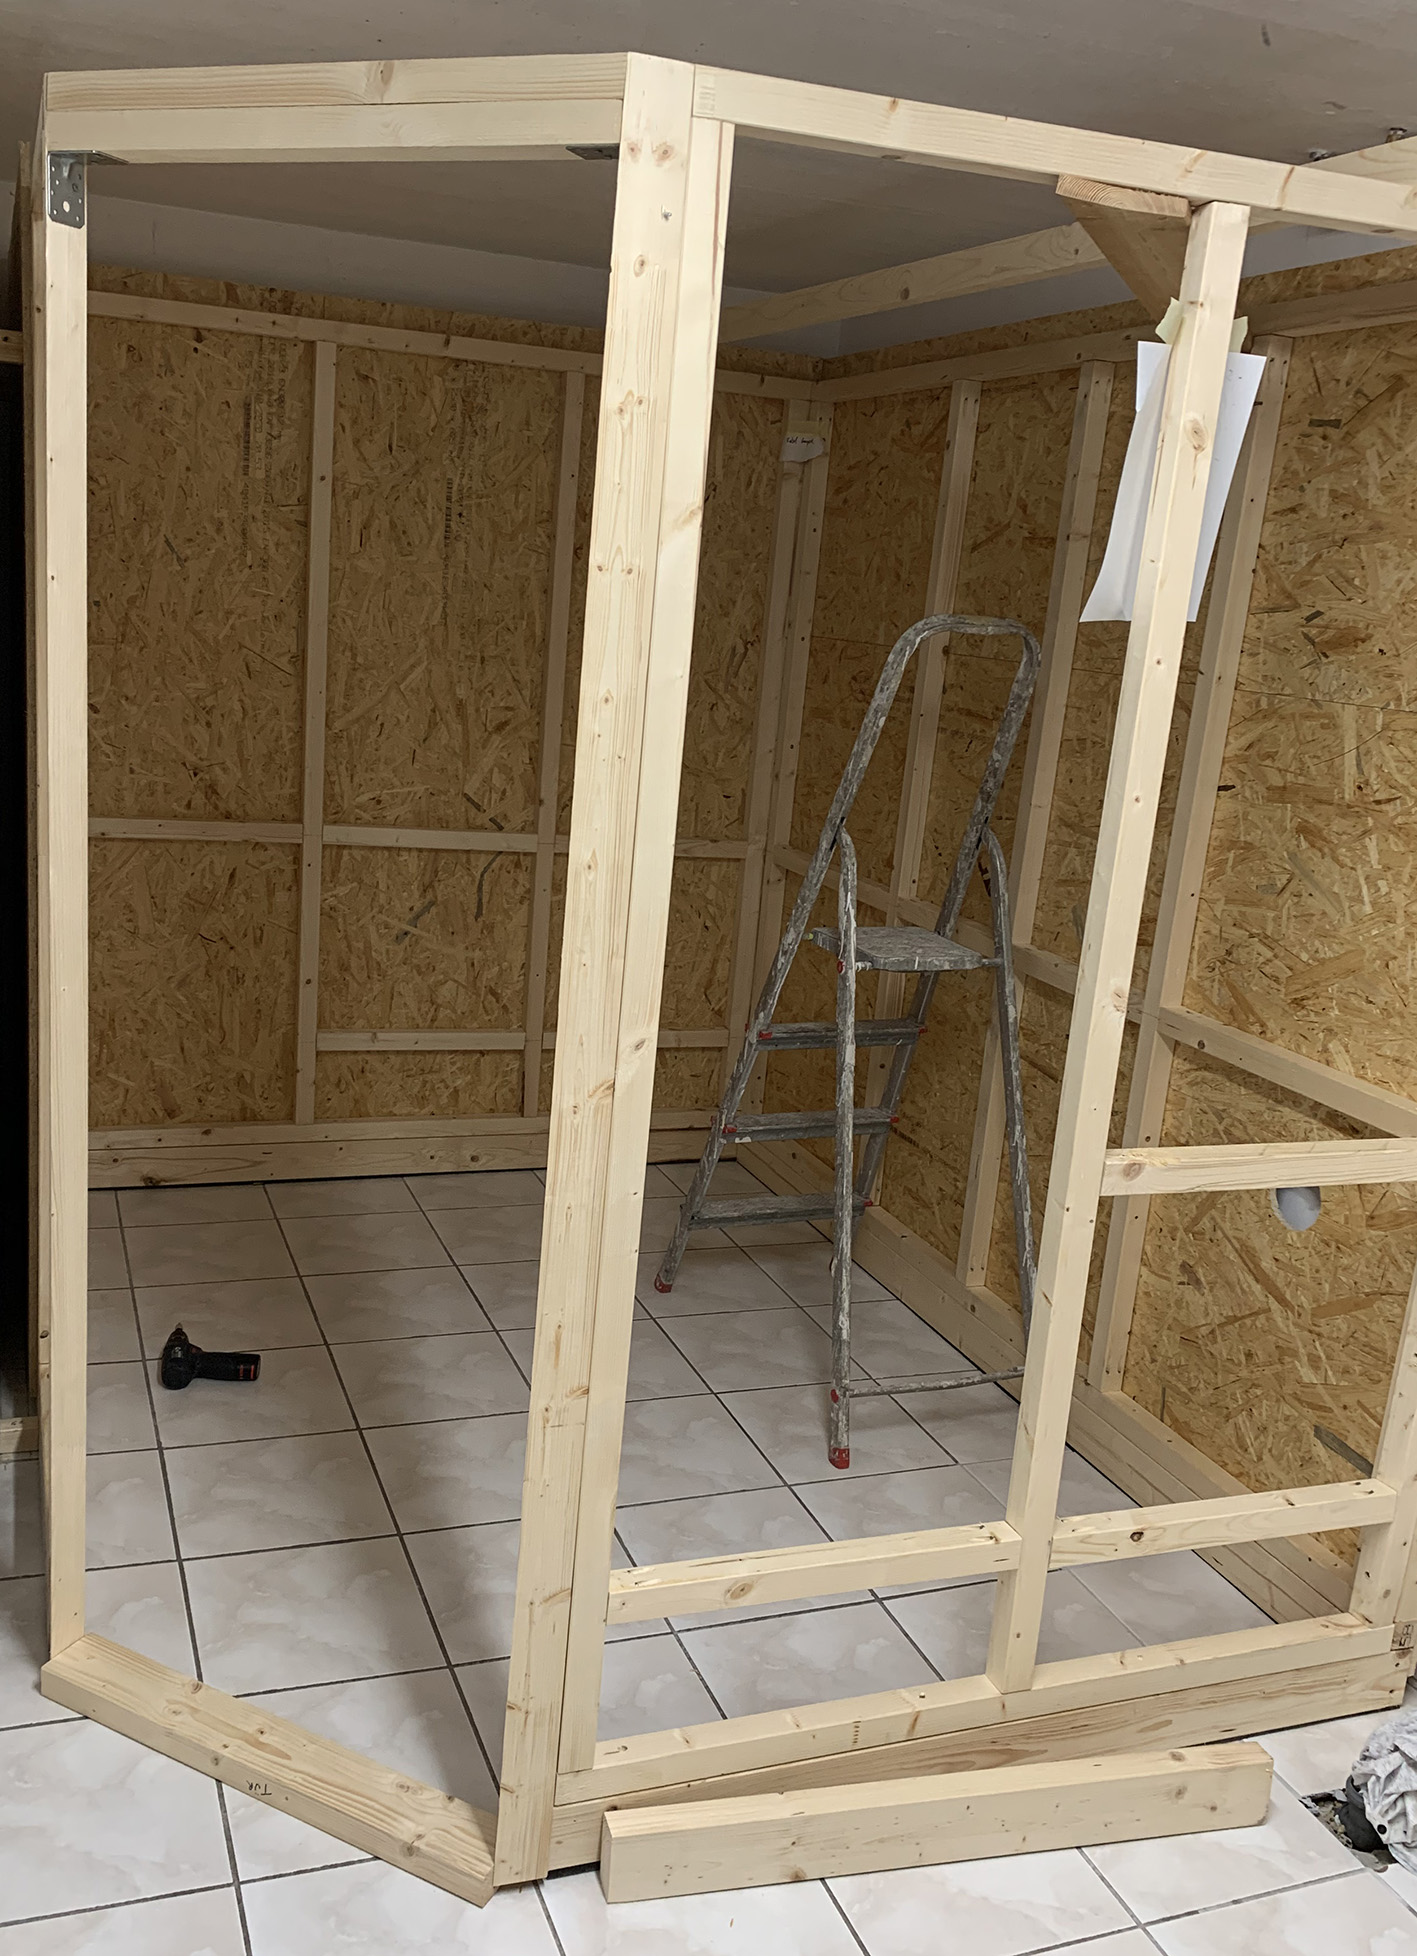
1. The base frame
Because the sauna is largely in a niche in the room, I decided to make the base frame first, and then each wall separately (lying down), and then slide the entire wall onto the base frame and fixate it.
Theoretically, it would be easier to build the entire construction first and then attach the outer layer from OSB panels. However, this construction method is unfortunately not possible here, because there would not be enough space at three of the four walls to screw the OSB plates (because the sauna is only 5 centimeters from the wall). Theoretically, it would also be possible to build the base frame, the window construction and the OSB panels completely, and then slide the entire construction into position. But that was also not an option for us, because the size of the basement did not allow this.
So first came the base frame. For this I used wooden beams 4.5 centimeters thick and 9 centimeters high. On the one hand because that thickness and height form a very stable base frame. On the other hand, I also wanted a high base frame in case there would ever be a problem with (ground) water in the basement. Fortunately, this has never been the case (and hopefully it will stay that way!). But this way I am sure that the insulation can never get wet from water on the floor. Mineral wool does not release moisture well at all, with the risk of mold growth as a result. So if a little water were to enter the basement, or the washing machine next to the sauna would act weird, the base frame will get wet, but the insulation will remain protected and dry up to a height of 9 centimeters.
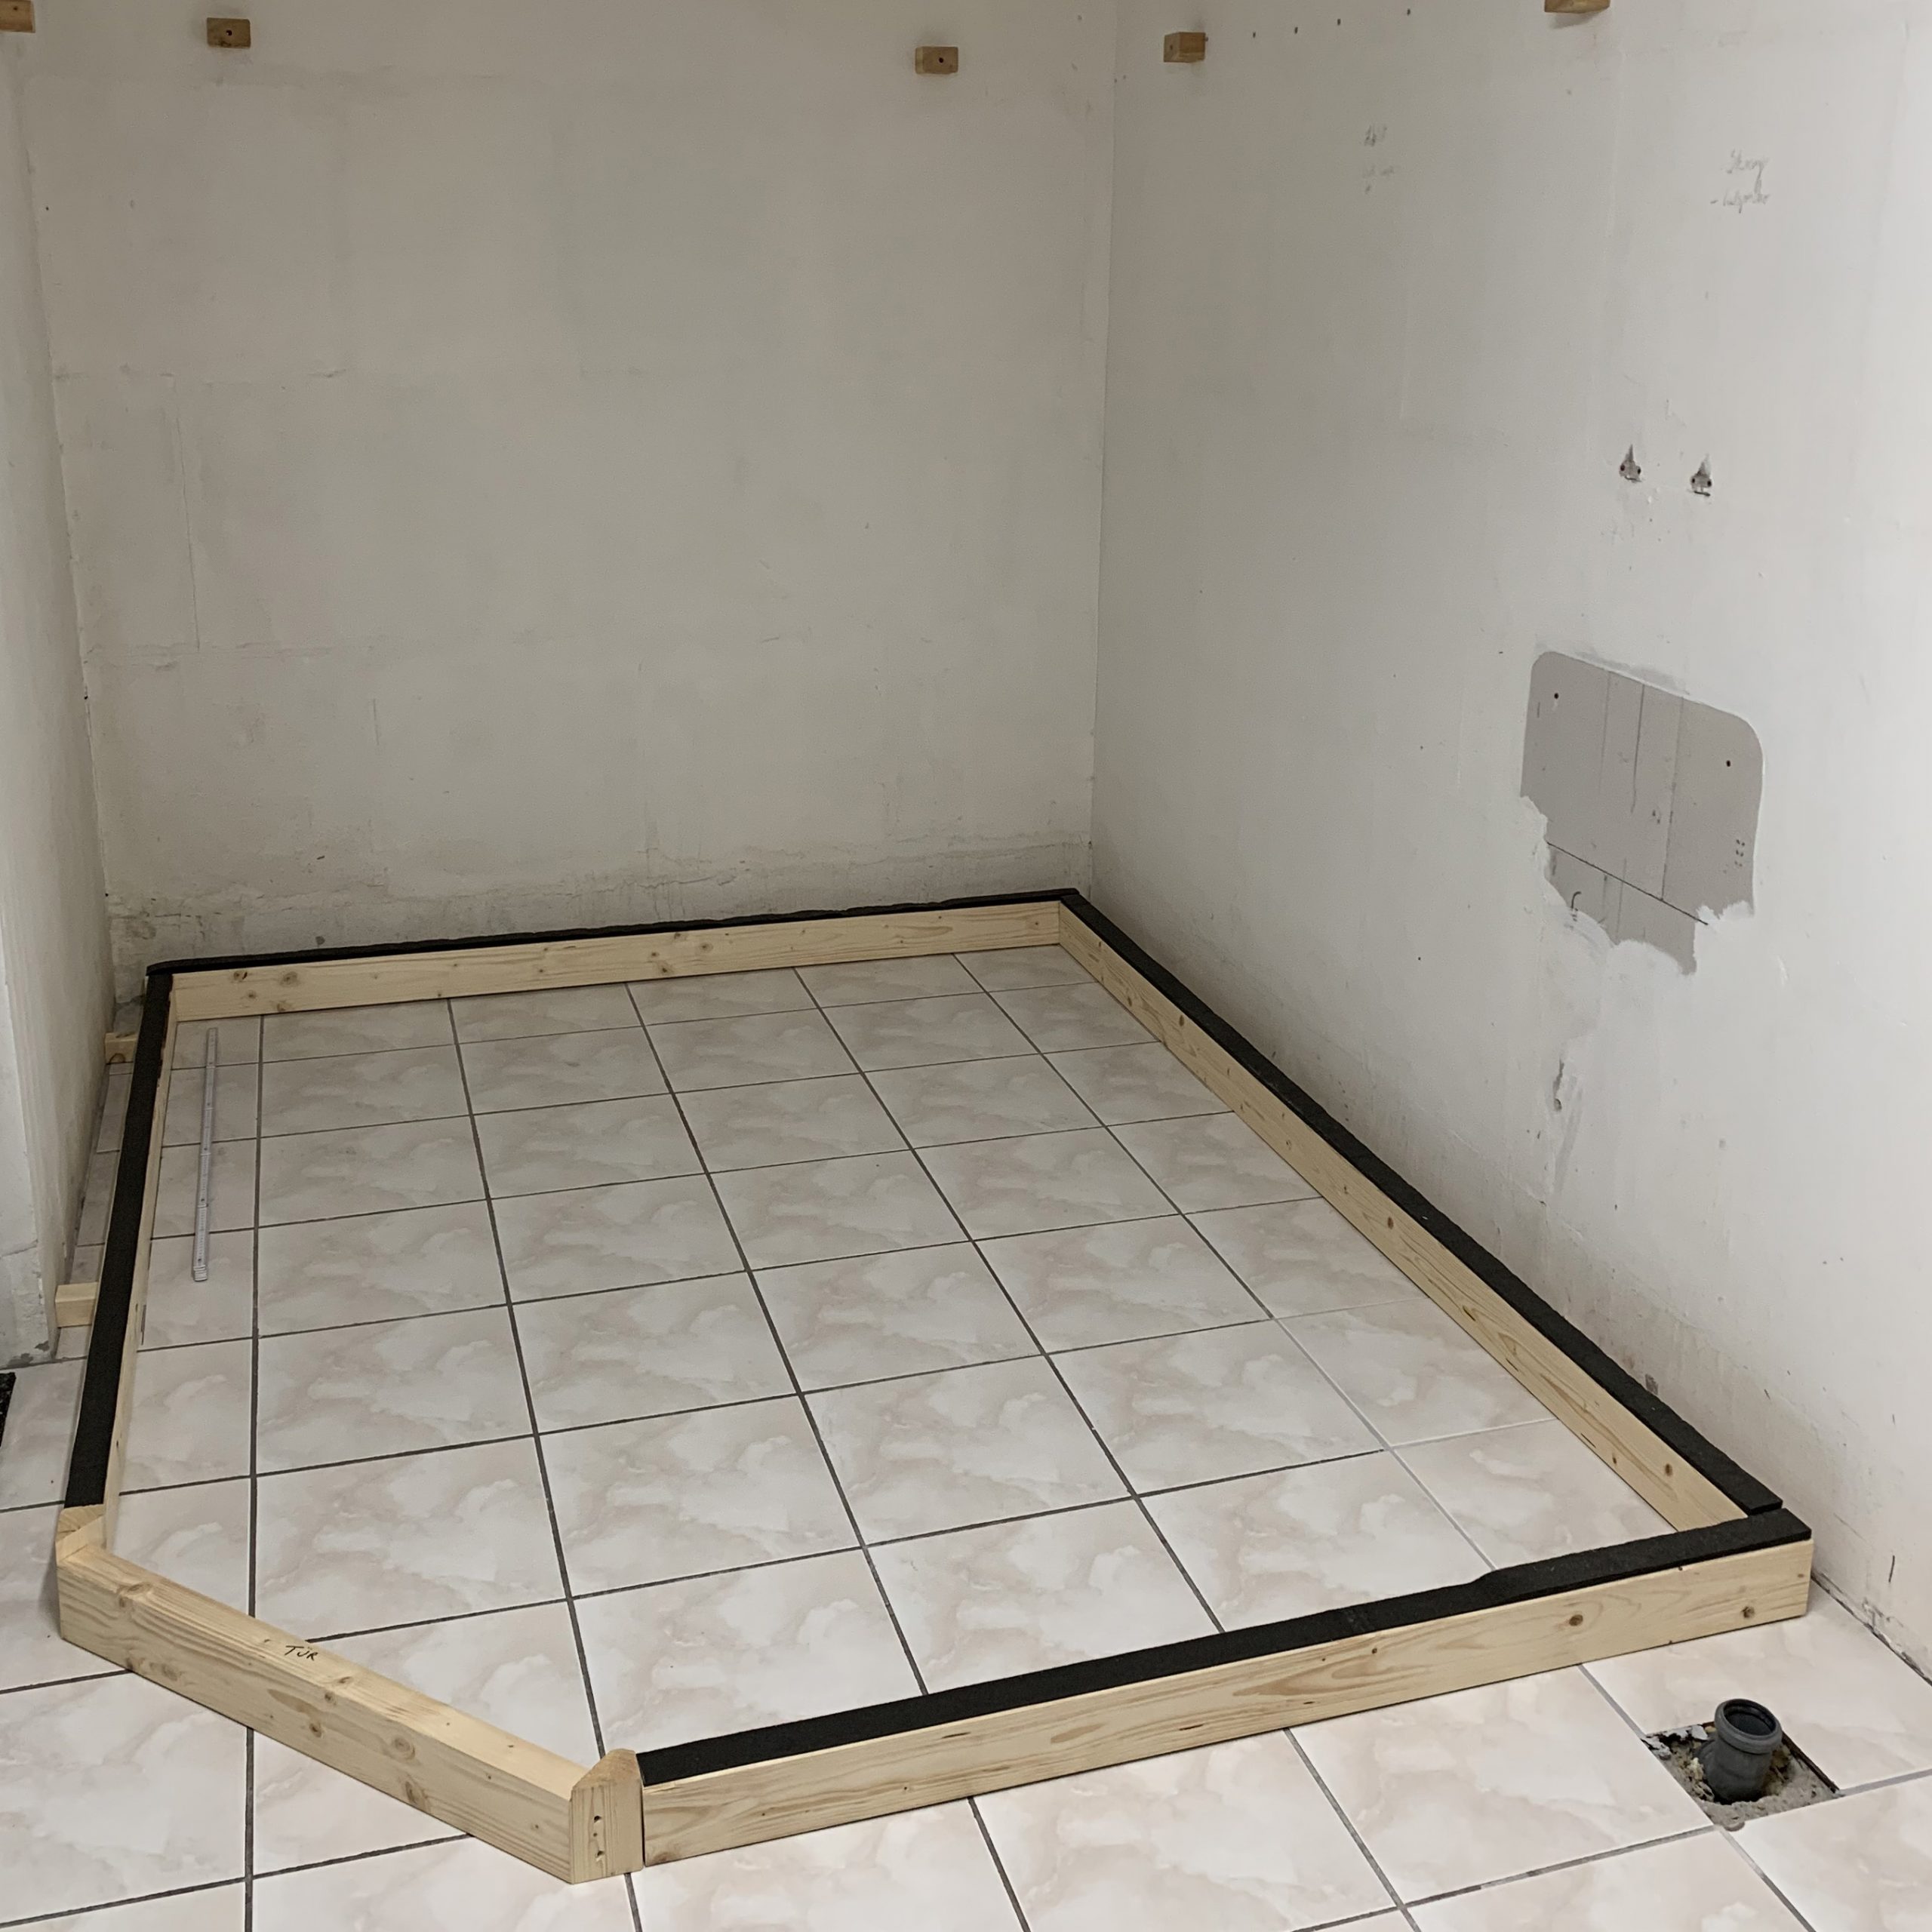
Because our basement was not tiled by the most talented tiler, there are several irregularities on the floor, which make leveling work almost impossible. That is why I decided to glue onto the entire base frame at the bottom a 4 centimeter wide compri tape. This compri tape extends to a thickness of 2 centimeters, so that all unevenness on the floor is compensated. And an additional advantage: in this way the cabin is optimally insulated from below.
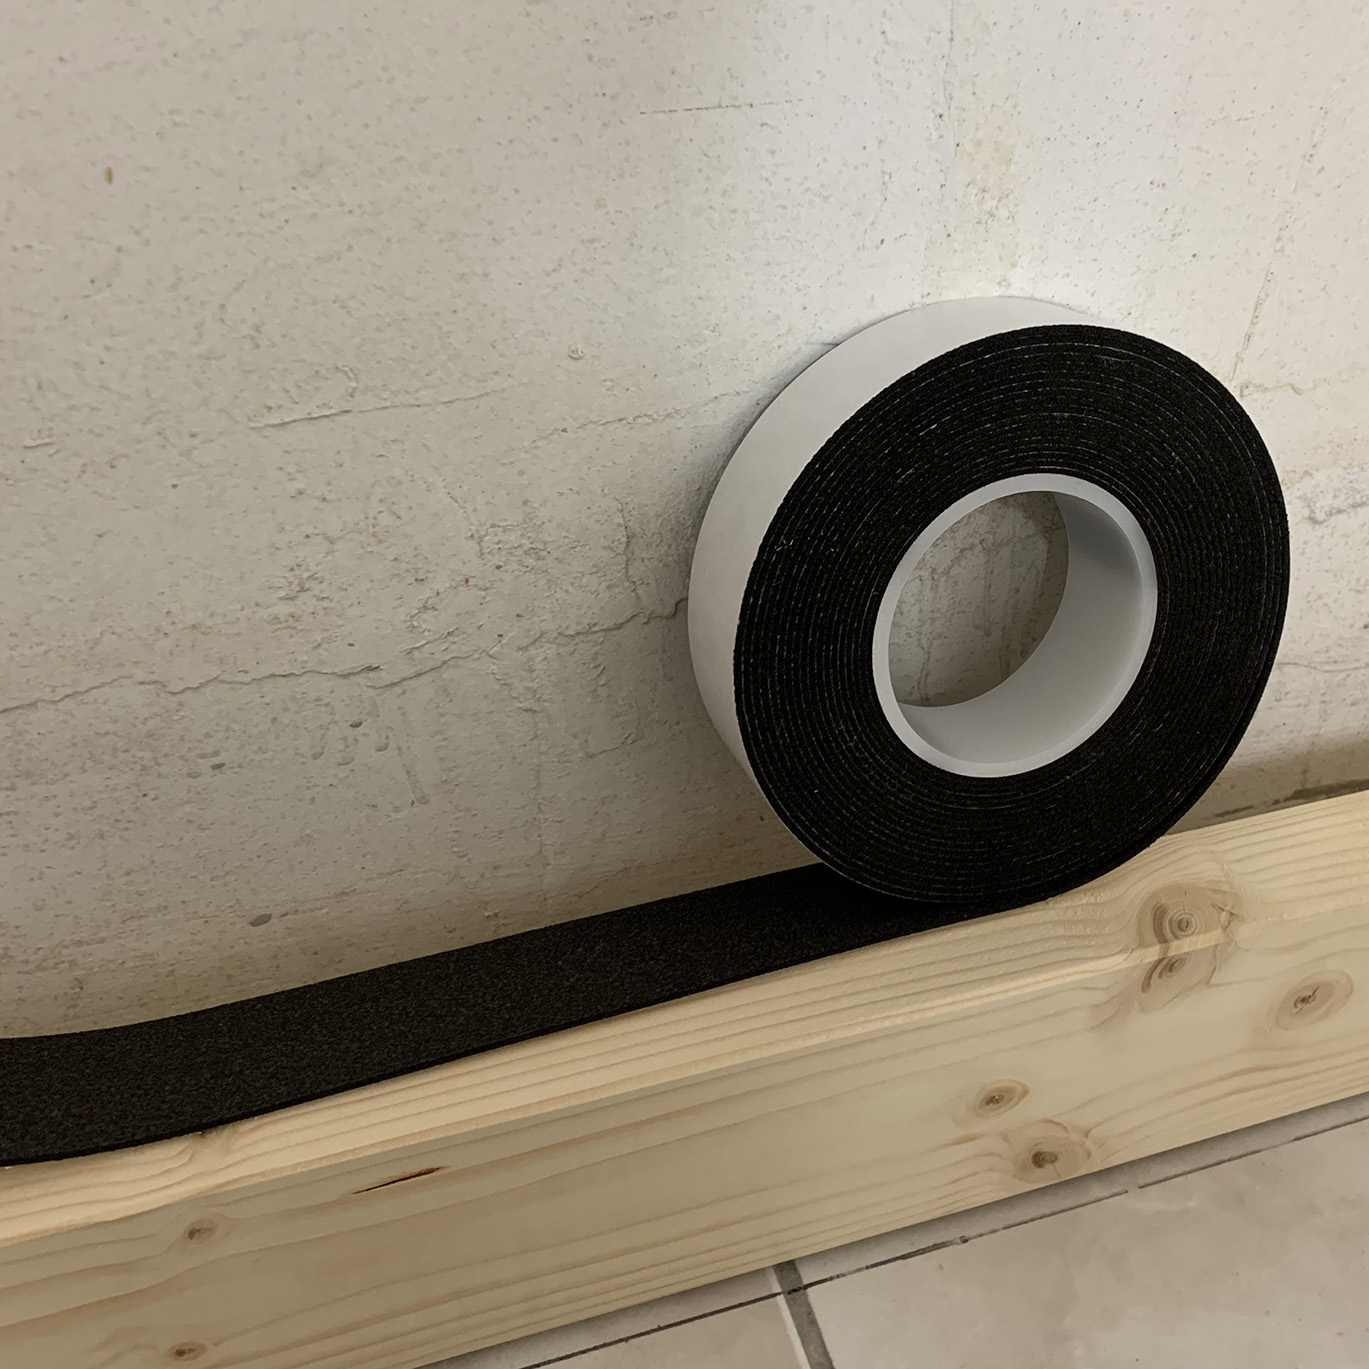
You will not find this kind of compri tape in the do-it-yourself store. There you will only find thin compri tape (1 to 2 centimeters), which is intended for insulating windows and doors. I found the compri tape online, on Amazon. The product is fantastic; it is easy to apply, and it rolls out to full thickness in about 2 hours. The compri tape has therefore compensated for all imperfections in the tile work, exactly as I had hoped.
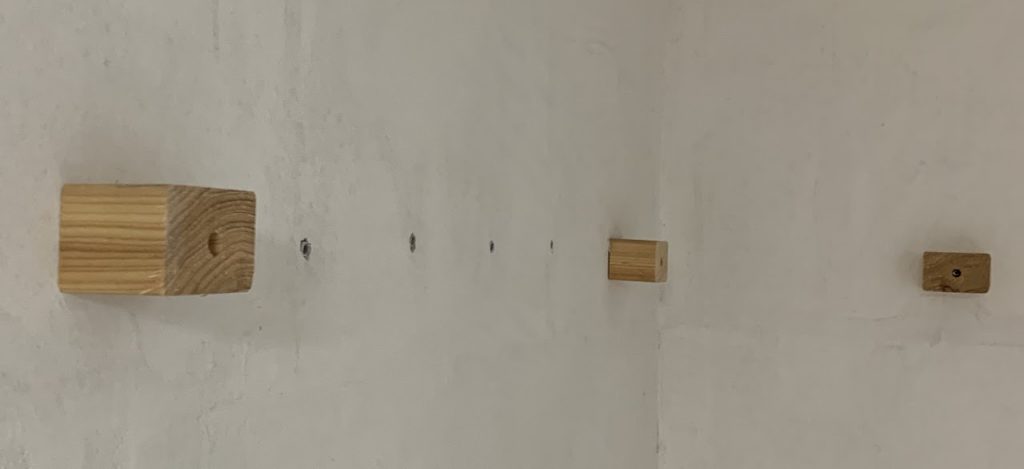
The base frame, here still with the compri tape at the top (so that it can expand to the full 2 centimeters thickness). The short bar in the corner is just the place holder for where the door will be later on. So it will be removed later.
The compri tape during application.
The compri tape, compressed on one side, already (partially) expanded on the other.
2. Beam construction and outer layer
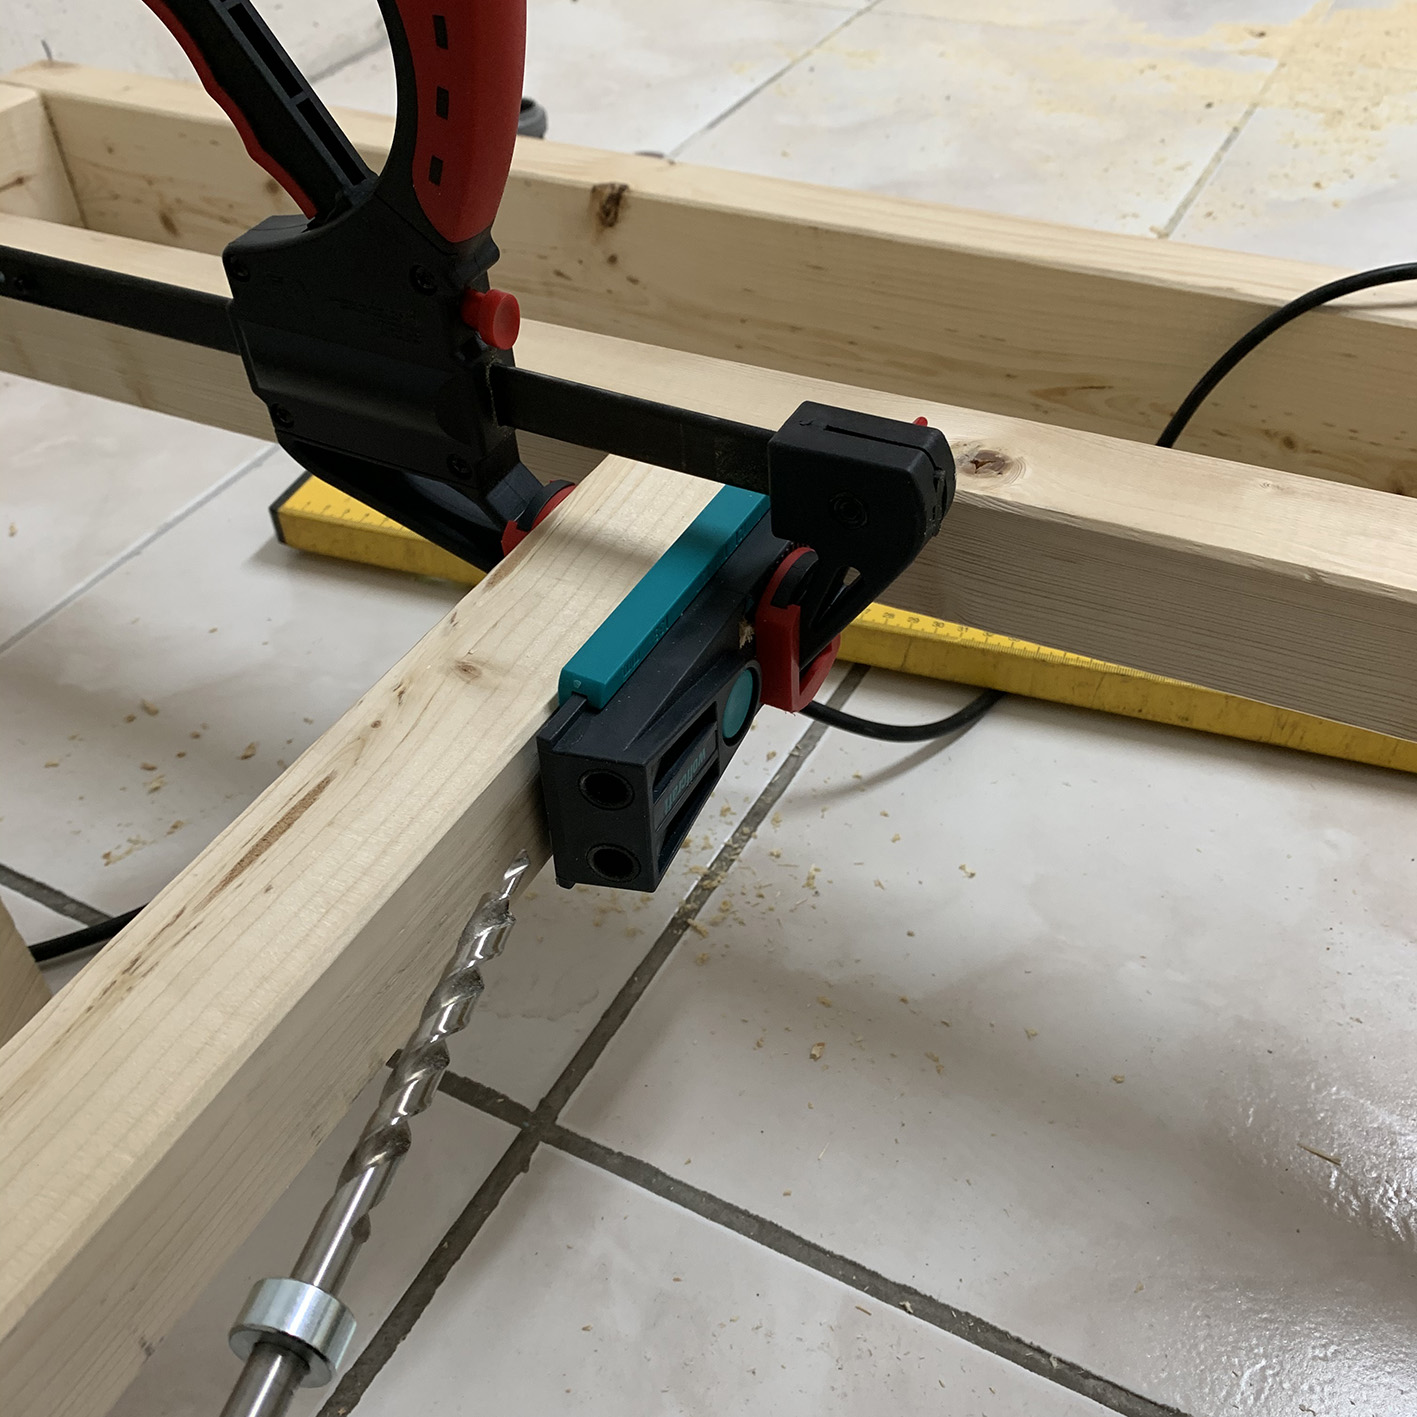
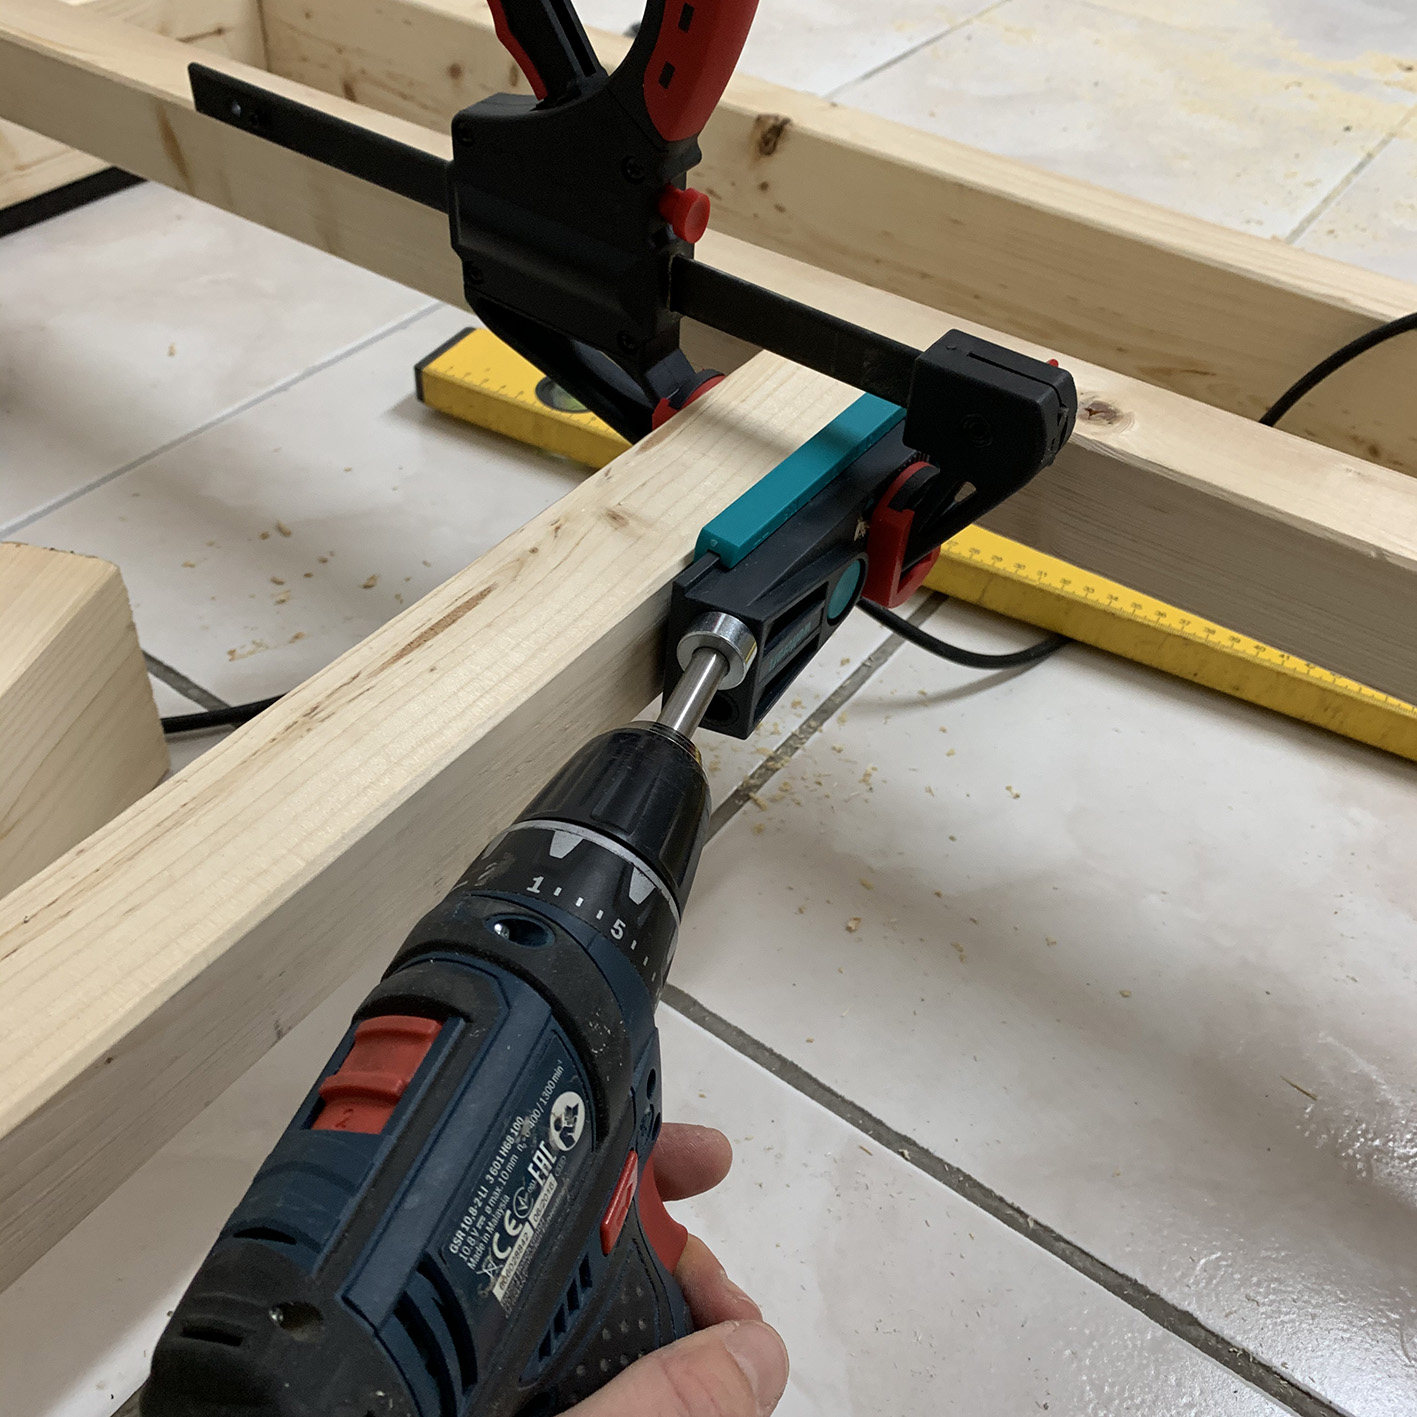
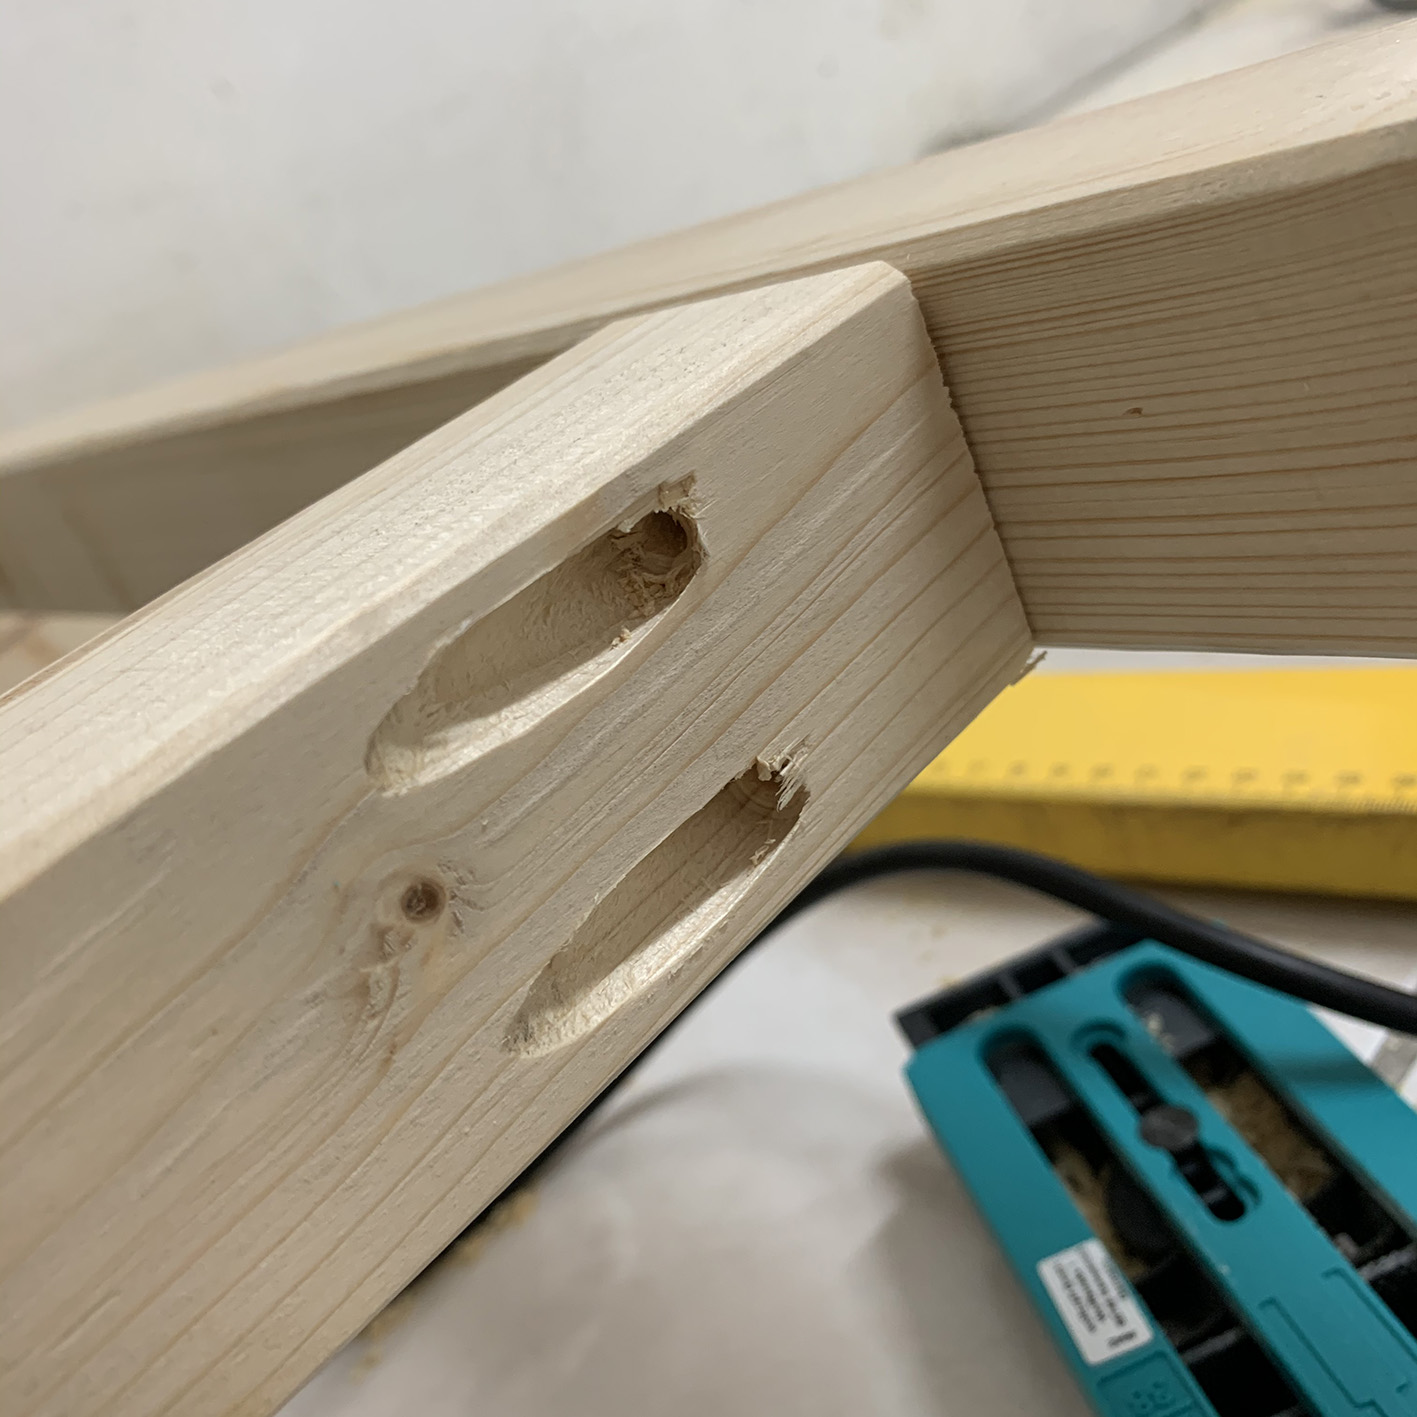
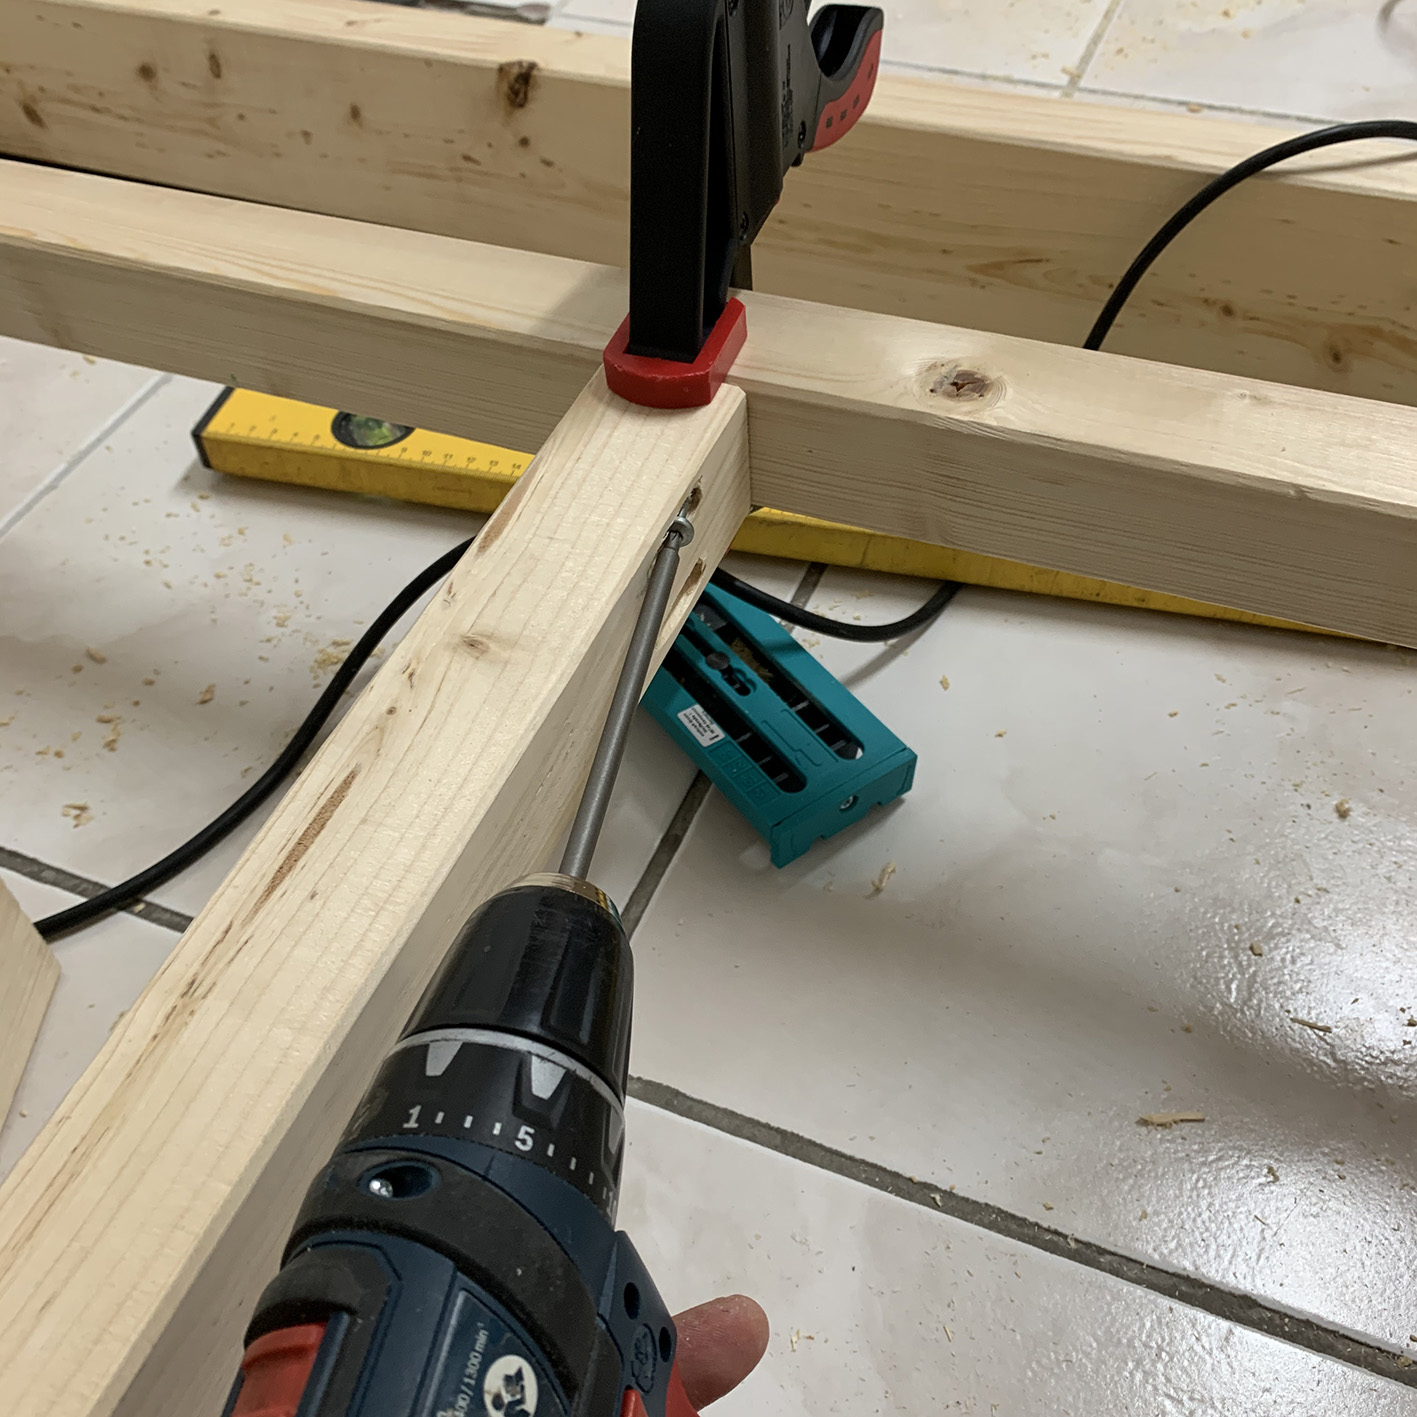
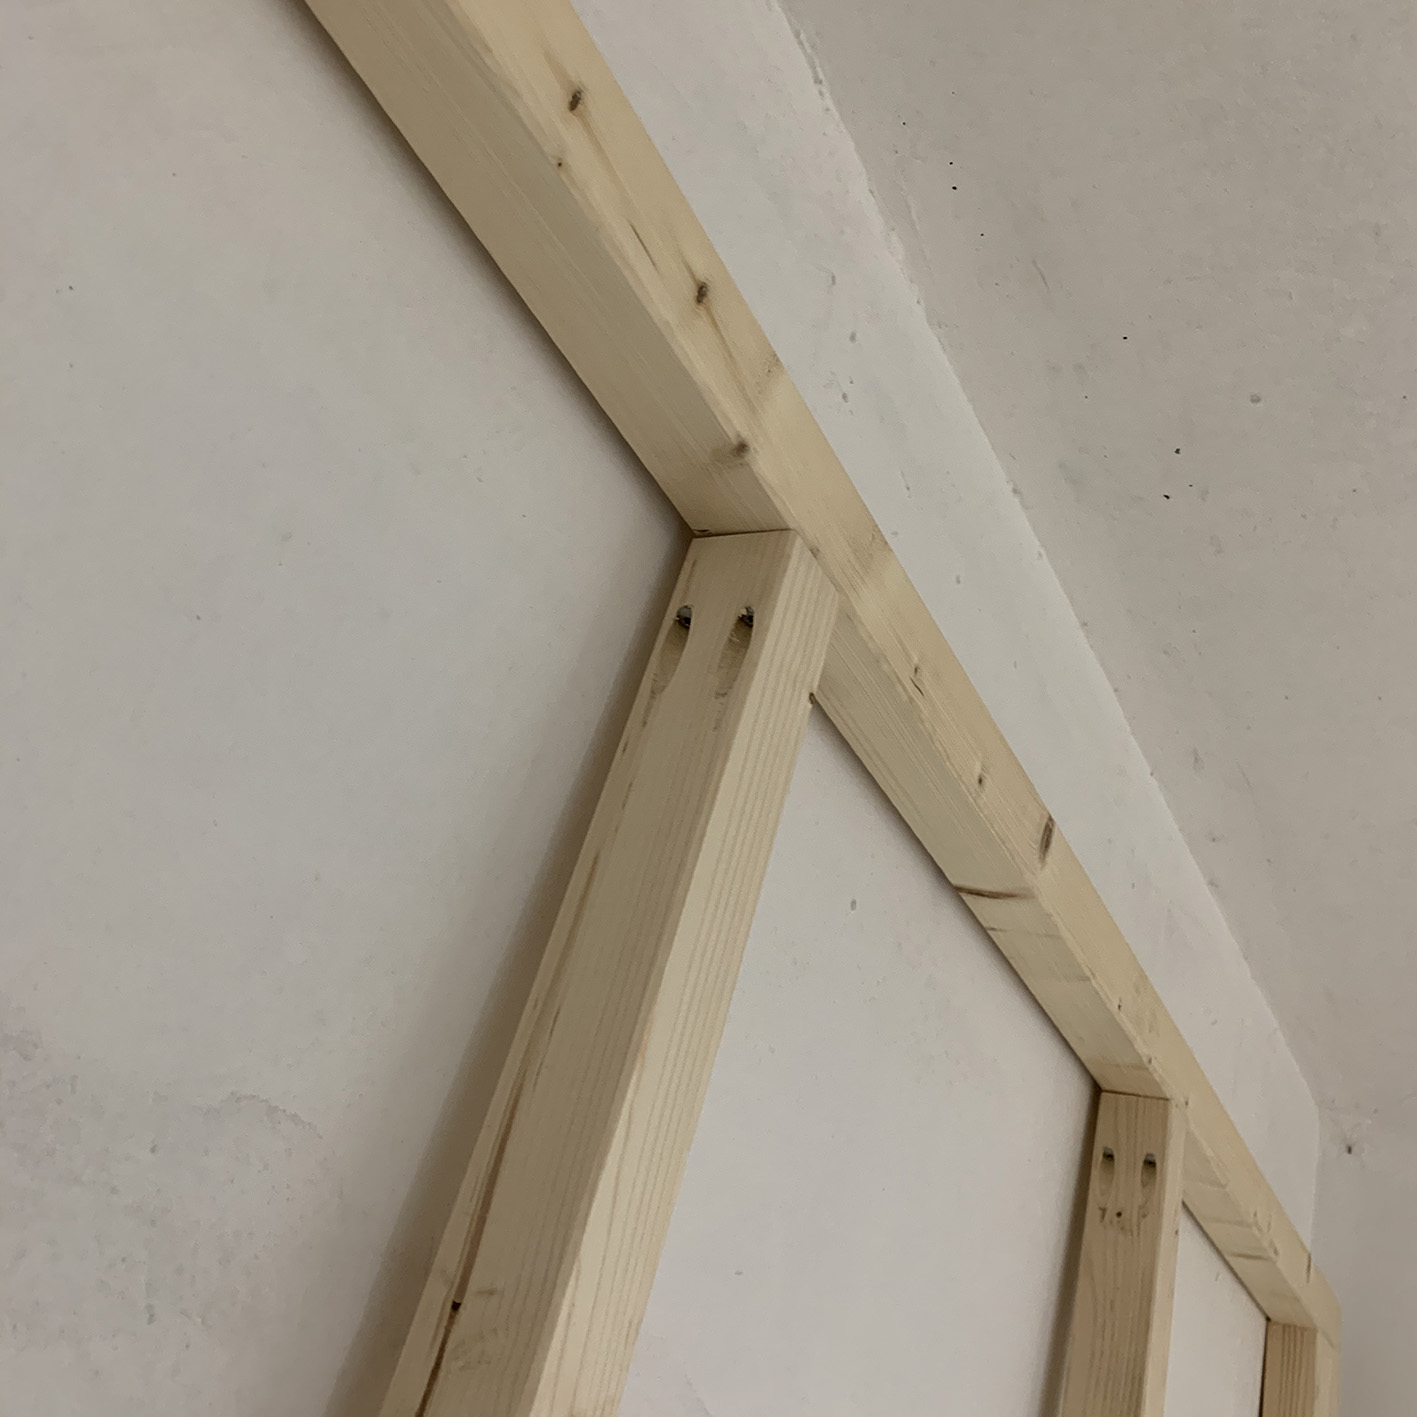
For the beam construction I used a so-called “jig-set”, so that I could make stable connections between two beams without metal corners. First, a hole is pre-drilled at a certain angle using a specific drilling template and drill bit. When those bores are ready (I made three per T-Joint), the beams can be screwed on. I already have many wood construction projects behind me; and the sauna is the first project, where I used the jig set. And I am very enthusiastic. The set is now part of my regular equipment and is used very often.
Pre-drilling takes a bit of time, of course, but after a little practice it goes pretty smoothly. I would say metal corner joints are about as time consuming in terms of working time as with the jig set. But metal connections are relatively expensive (one corner and 6 screws per connection). And for a sauna, a lot of T-connections have to be made… With the jig-set you only need three screws. So the jig-set is friendly for both your wallet and your sauna budget.
Here are a few images to make it all a bit clearer.
The jig-set can be adjusted depending on the width and thickness of the wood, so that the drill holes are deeper or less deep, and closer or further away from the T-Joint. I recommend drilling a few practice holes to see which setting is best for the chosen beams.
It is important that the screws have a non-retractable head. This means that the head is flat, so that the screw does not drill further into the wood. This way, the screws cannot splinter the wood. I used thread Spax screws for that, in 5.0 x 70mm. Those screws are quite special, and therefore difficult to find in the normal DIY store. Moreover, they are also quite expensive there. Via Amazon I found the screws quite cheap in a large pack of 500 screws. The length of the screws must of course always be adjusted to the thickness of the beams used.
For the two 45-degree angles, where the door will be mounted later, I had two beams (4.5 x 9 centimeters) cut at a 45-degree angle along the entire length by a wood specialist shop in the area. There they can do this with such precision that I could never have achieved (so precisely) at home with my circular saw.
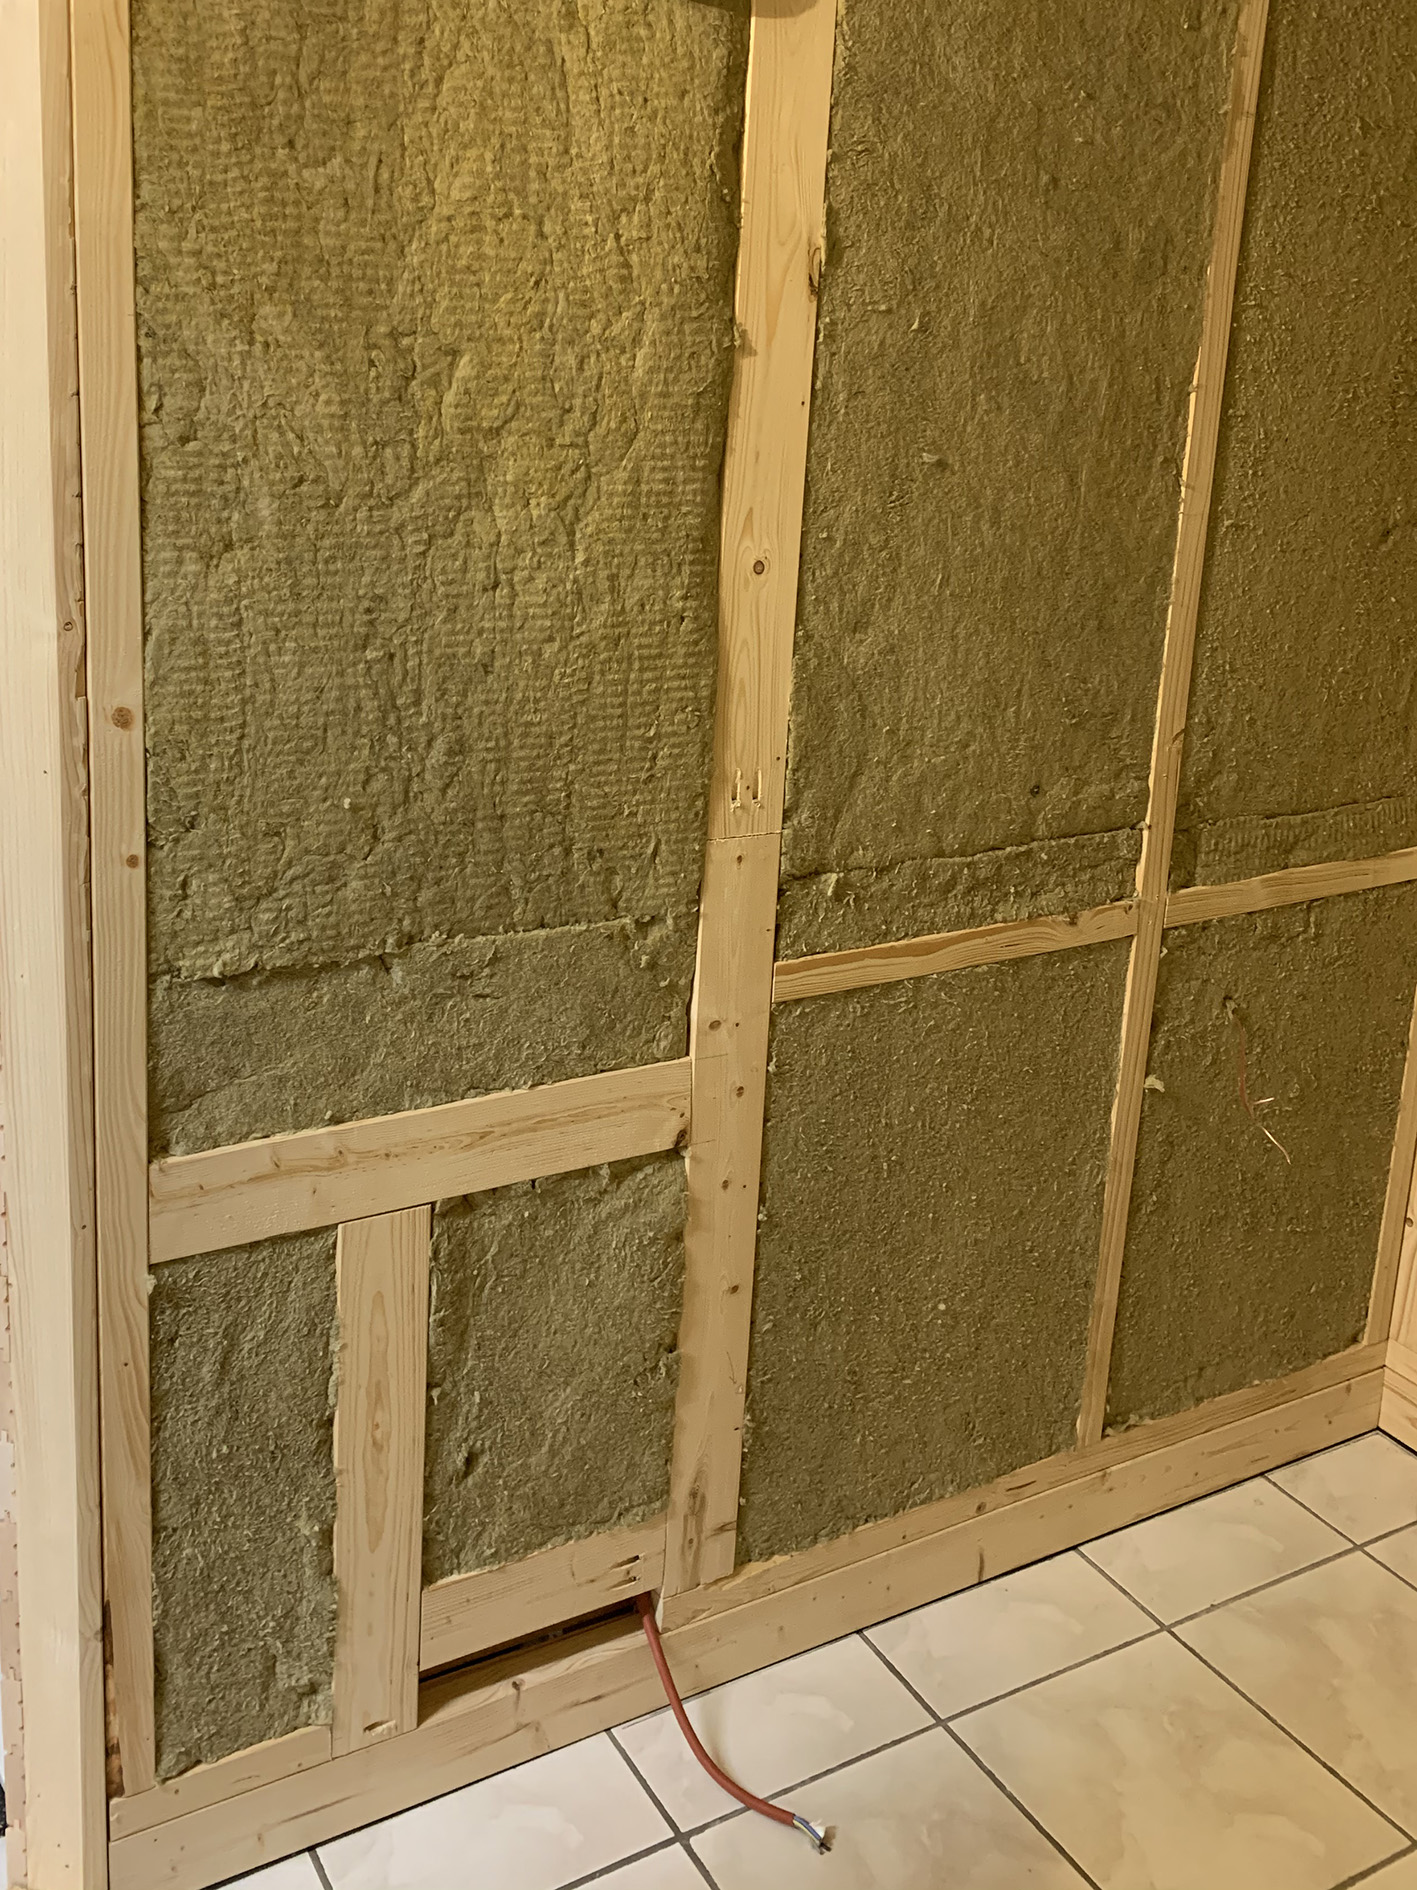
3. Insulation and vapor barrier
When building a sauna in element construction, there are two options for insulation. First of all, there is insulation with wood fibers. Then the sauna continues to “breathe”, which means that the entire wall, including the insulation, can absorb and delate moisture relatively well. That is why no vapor barrier should be applied with wood fiber insulation. The price is only a bit higher than mineral wool insulation.
I opted for mineral wool – and therefore also for a vapor barrier – because I was already familiar with this method of insulating, and therefore it seemed easier to assemble. Moreover, I had never worked with wood fiber insulation.
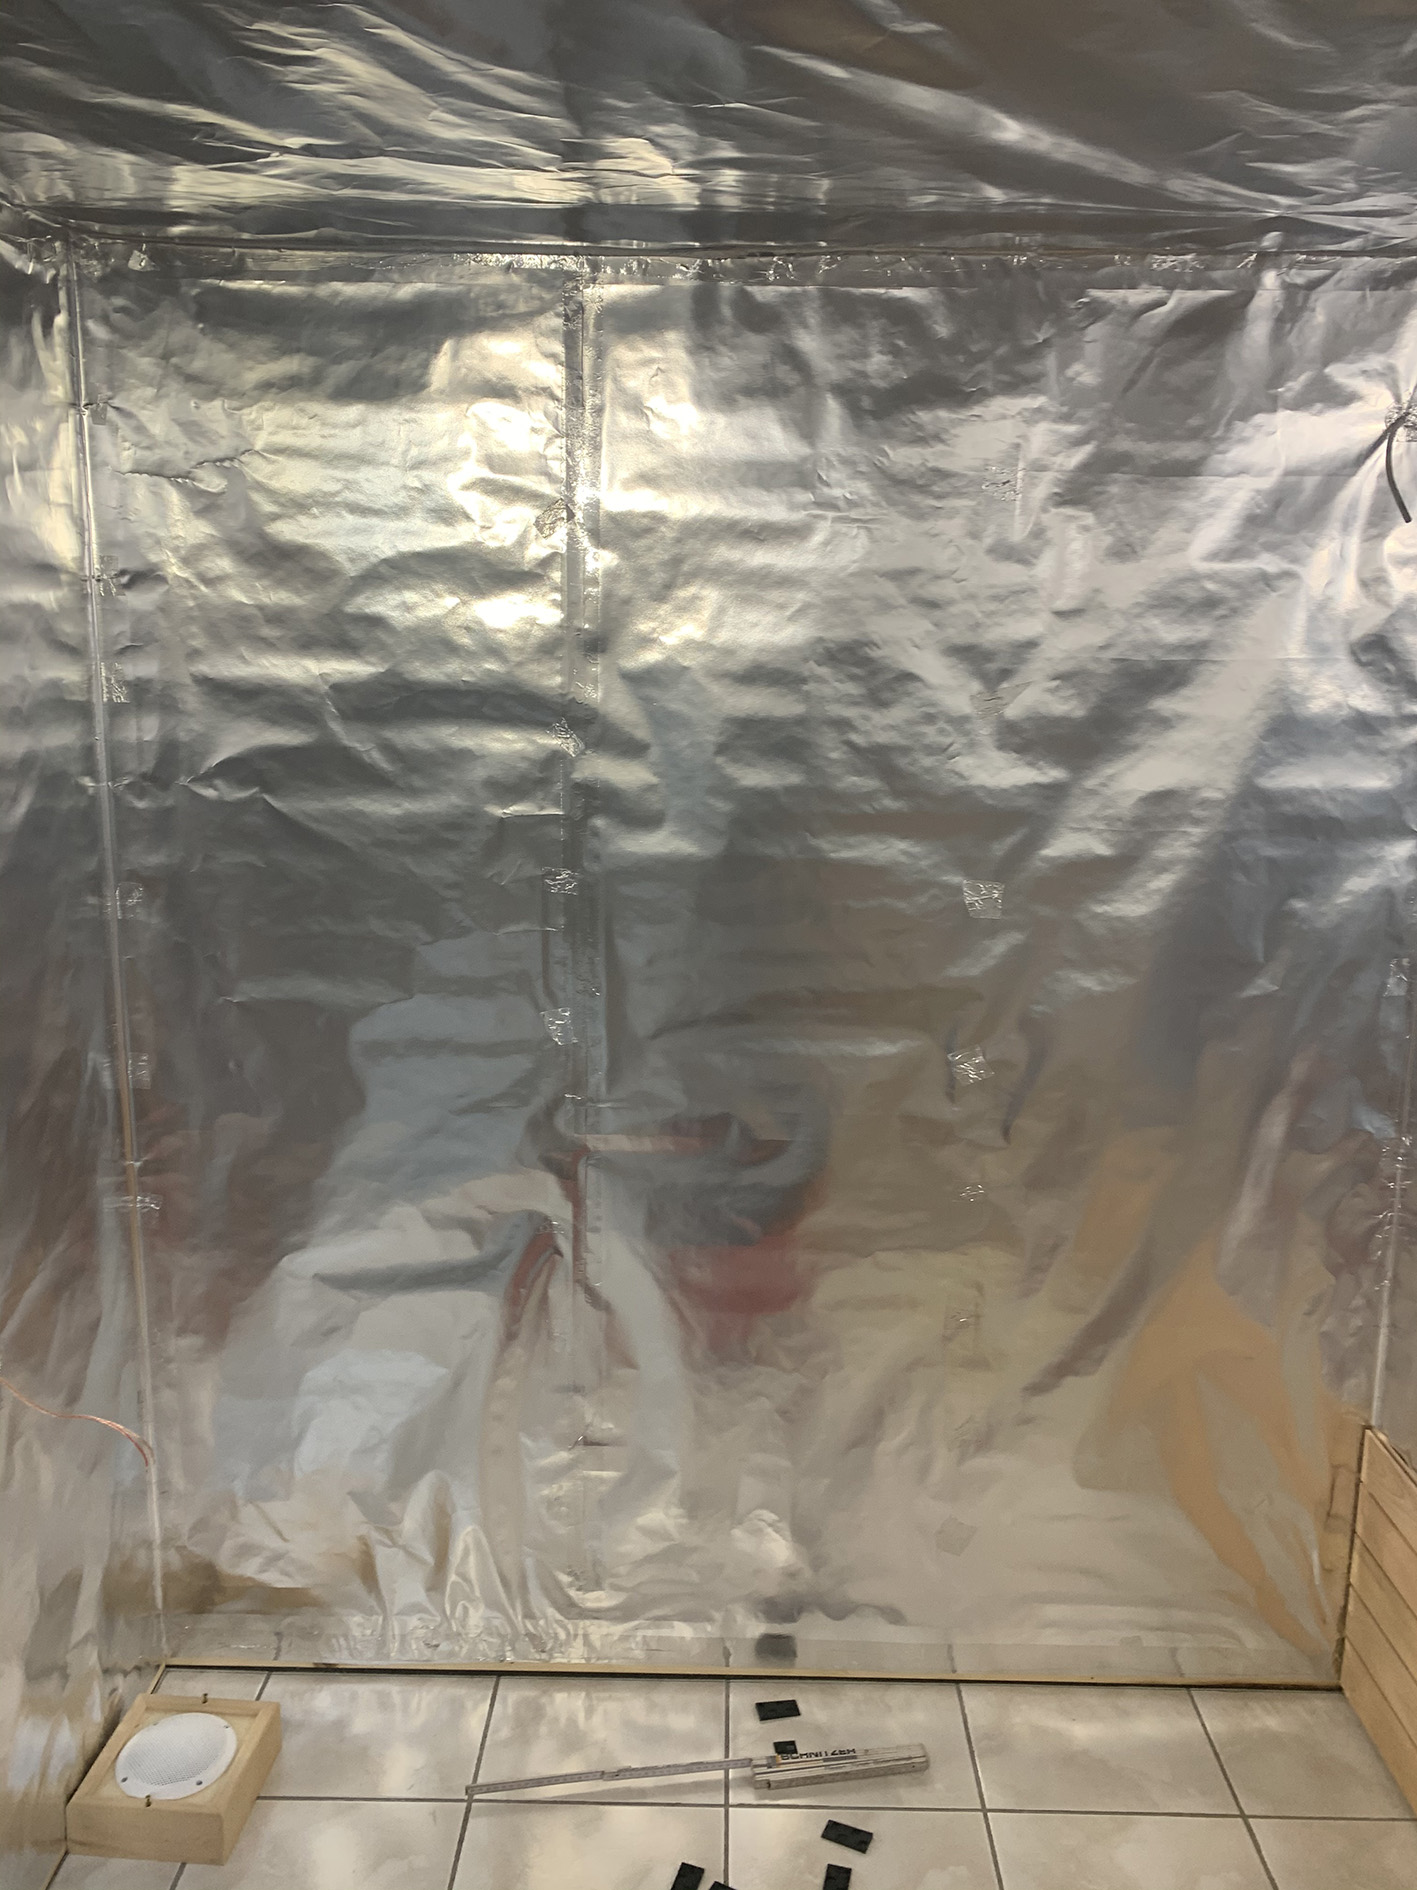
I then equipped the entire cabin with an aluminum vapor barrier. It is more robust and thicker than aluminum foil, and its function is to keep the humidity in the sauna. That is why it is extremely important that the vapor barrier is absolutely tight, so that no moisture can get into the insulation layer.
The vapor barrier is first attached to the wooden beams with an electric stapler. Then every seam, every corner and every small hole is taped with aluminum adhesive tape. It pays off to invest in high-quality aluminum adhesive tape. On the one hand because the aluminum adhesive tape of the do-it-yourself store is not designed for the high temperatures in a sauna, but on the other hand also because professional aluminum adhesive tape is much easier to process and apply.
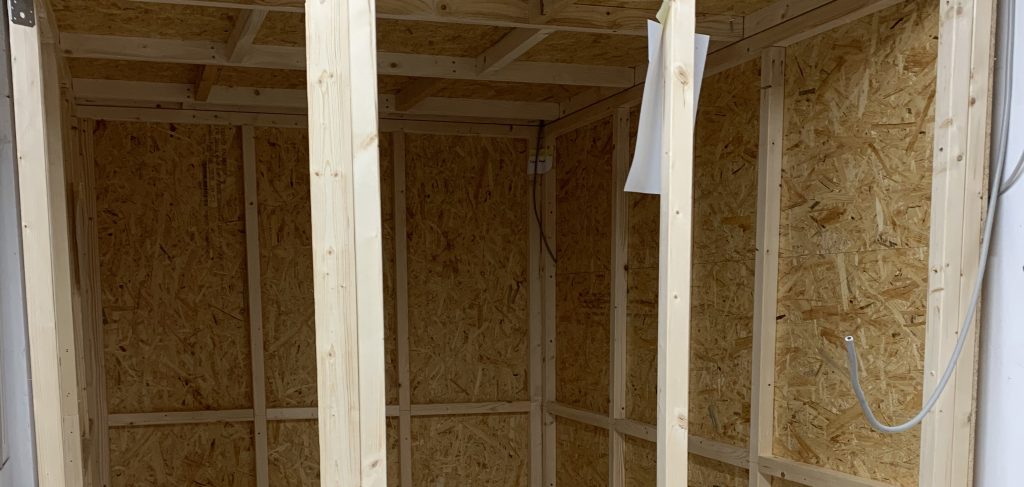
Insulated wall, with the air supply hole at the bottom left, which comes under the sauna oven.
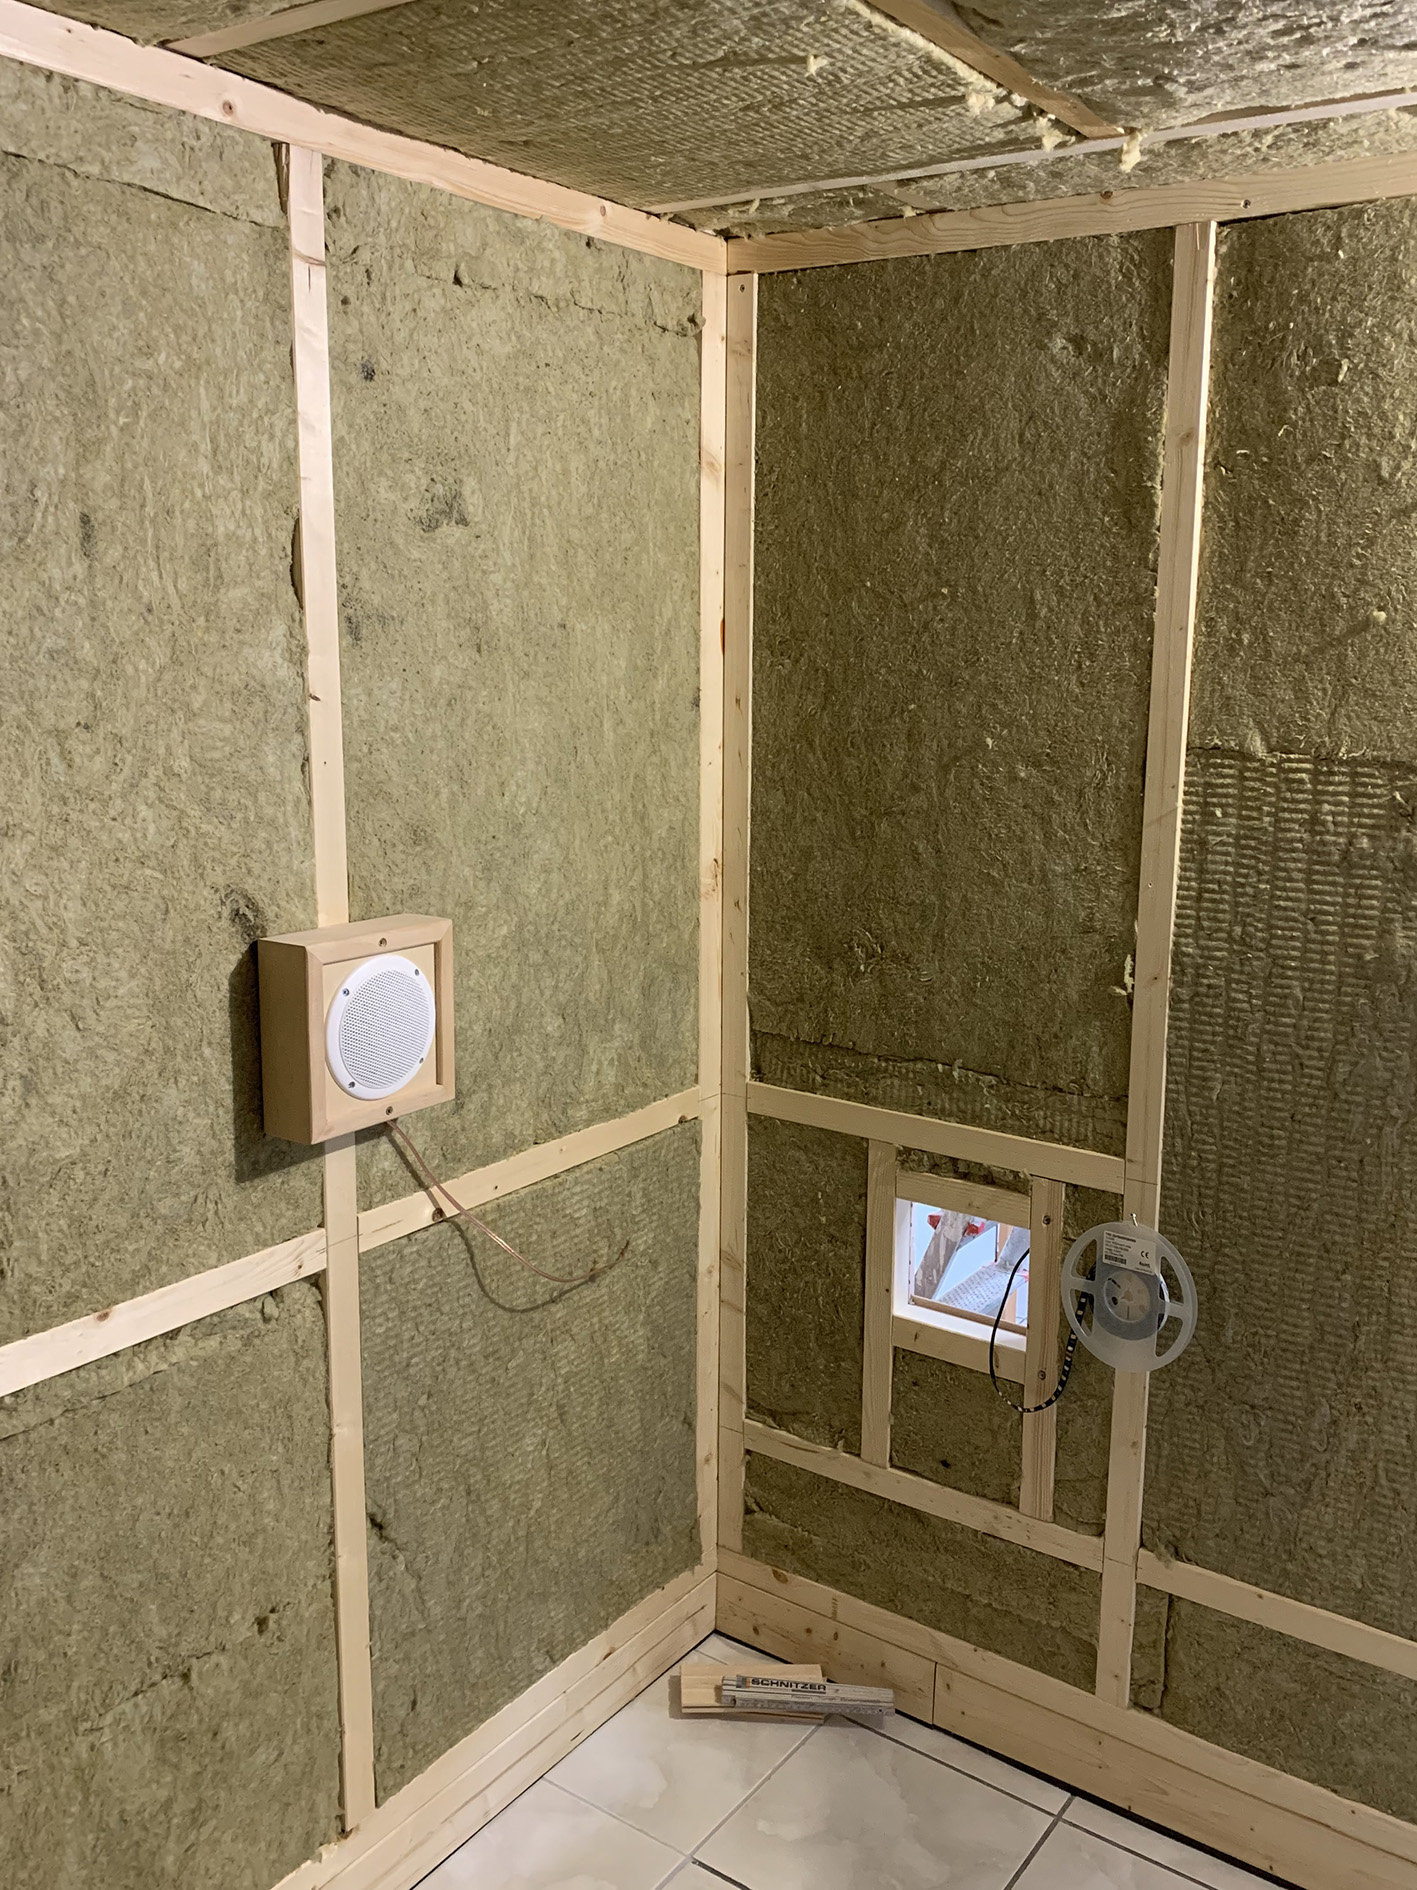
Insulated wall with air outlet hole in about 60 centimeters height. Later a slider will be installed, so that the hole can be opened and closed.
The aluminum vapor screen, with the first profile laths of the interior on the right-hand wall.
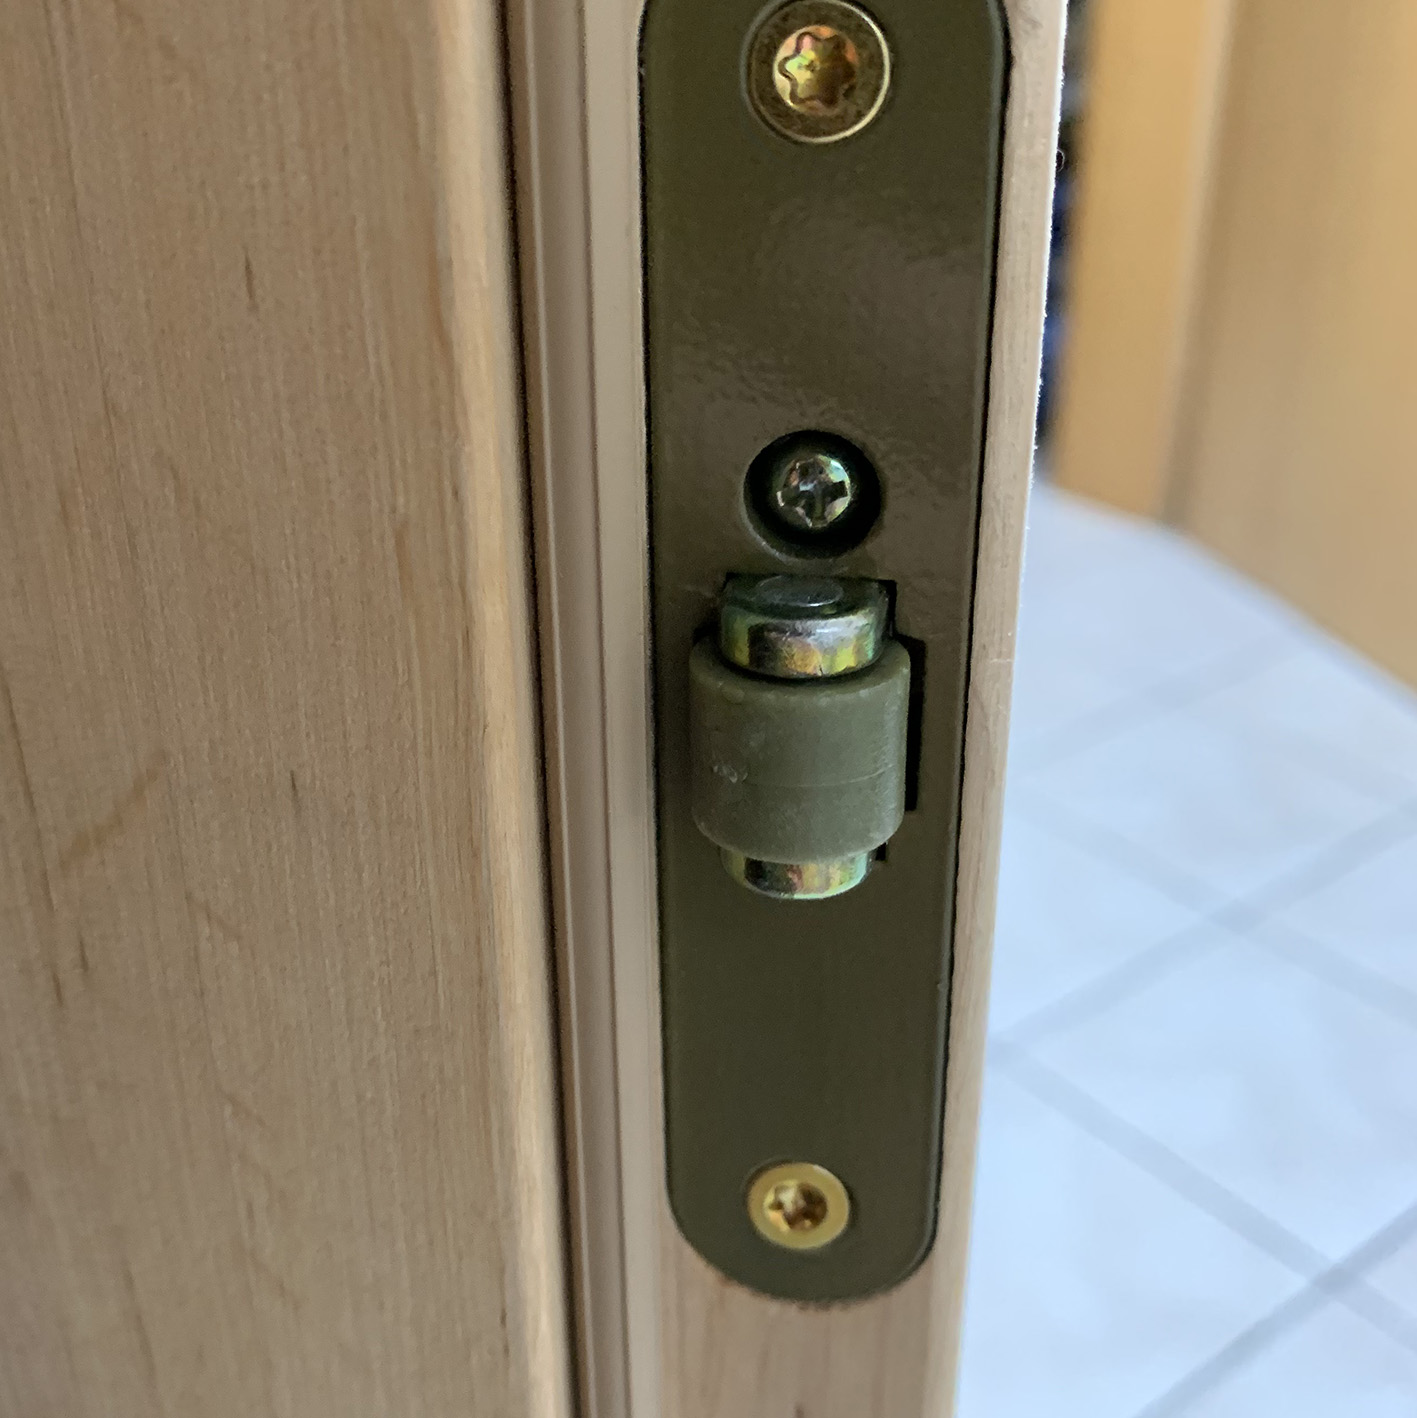
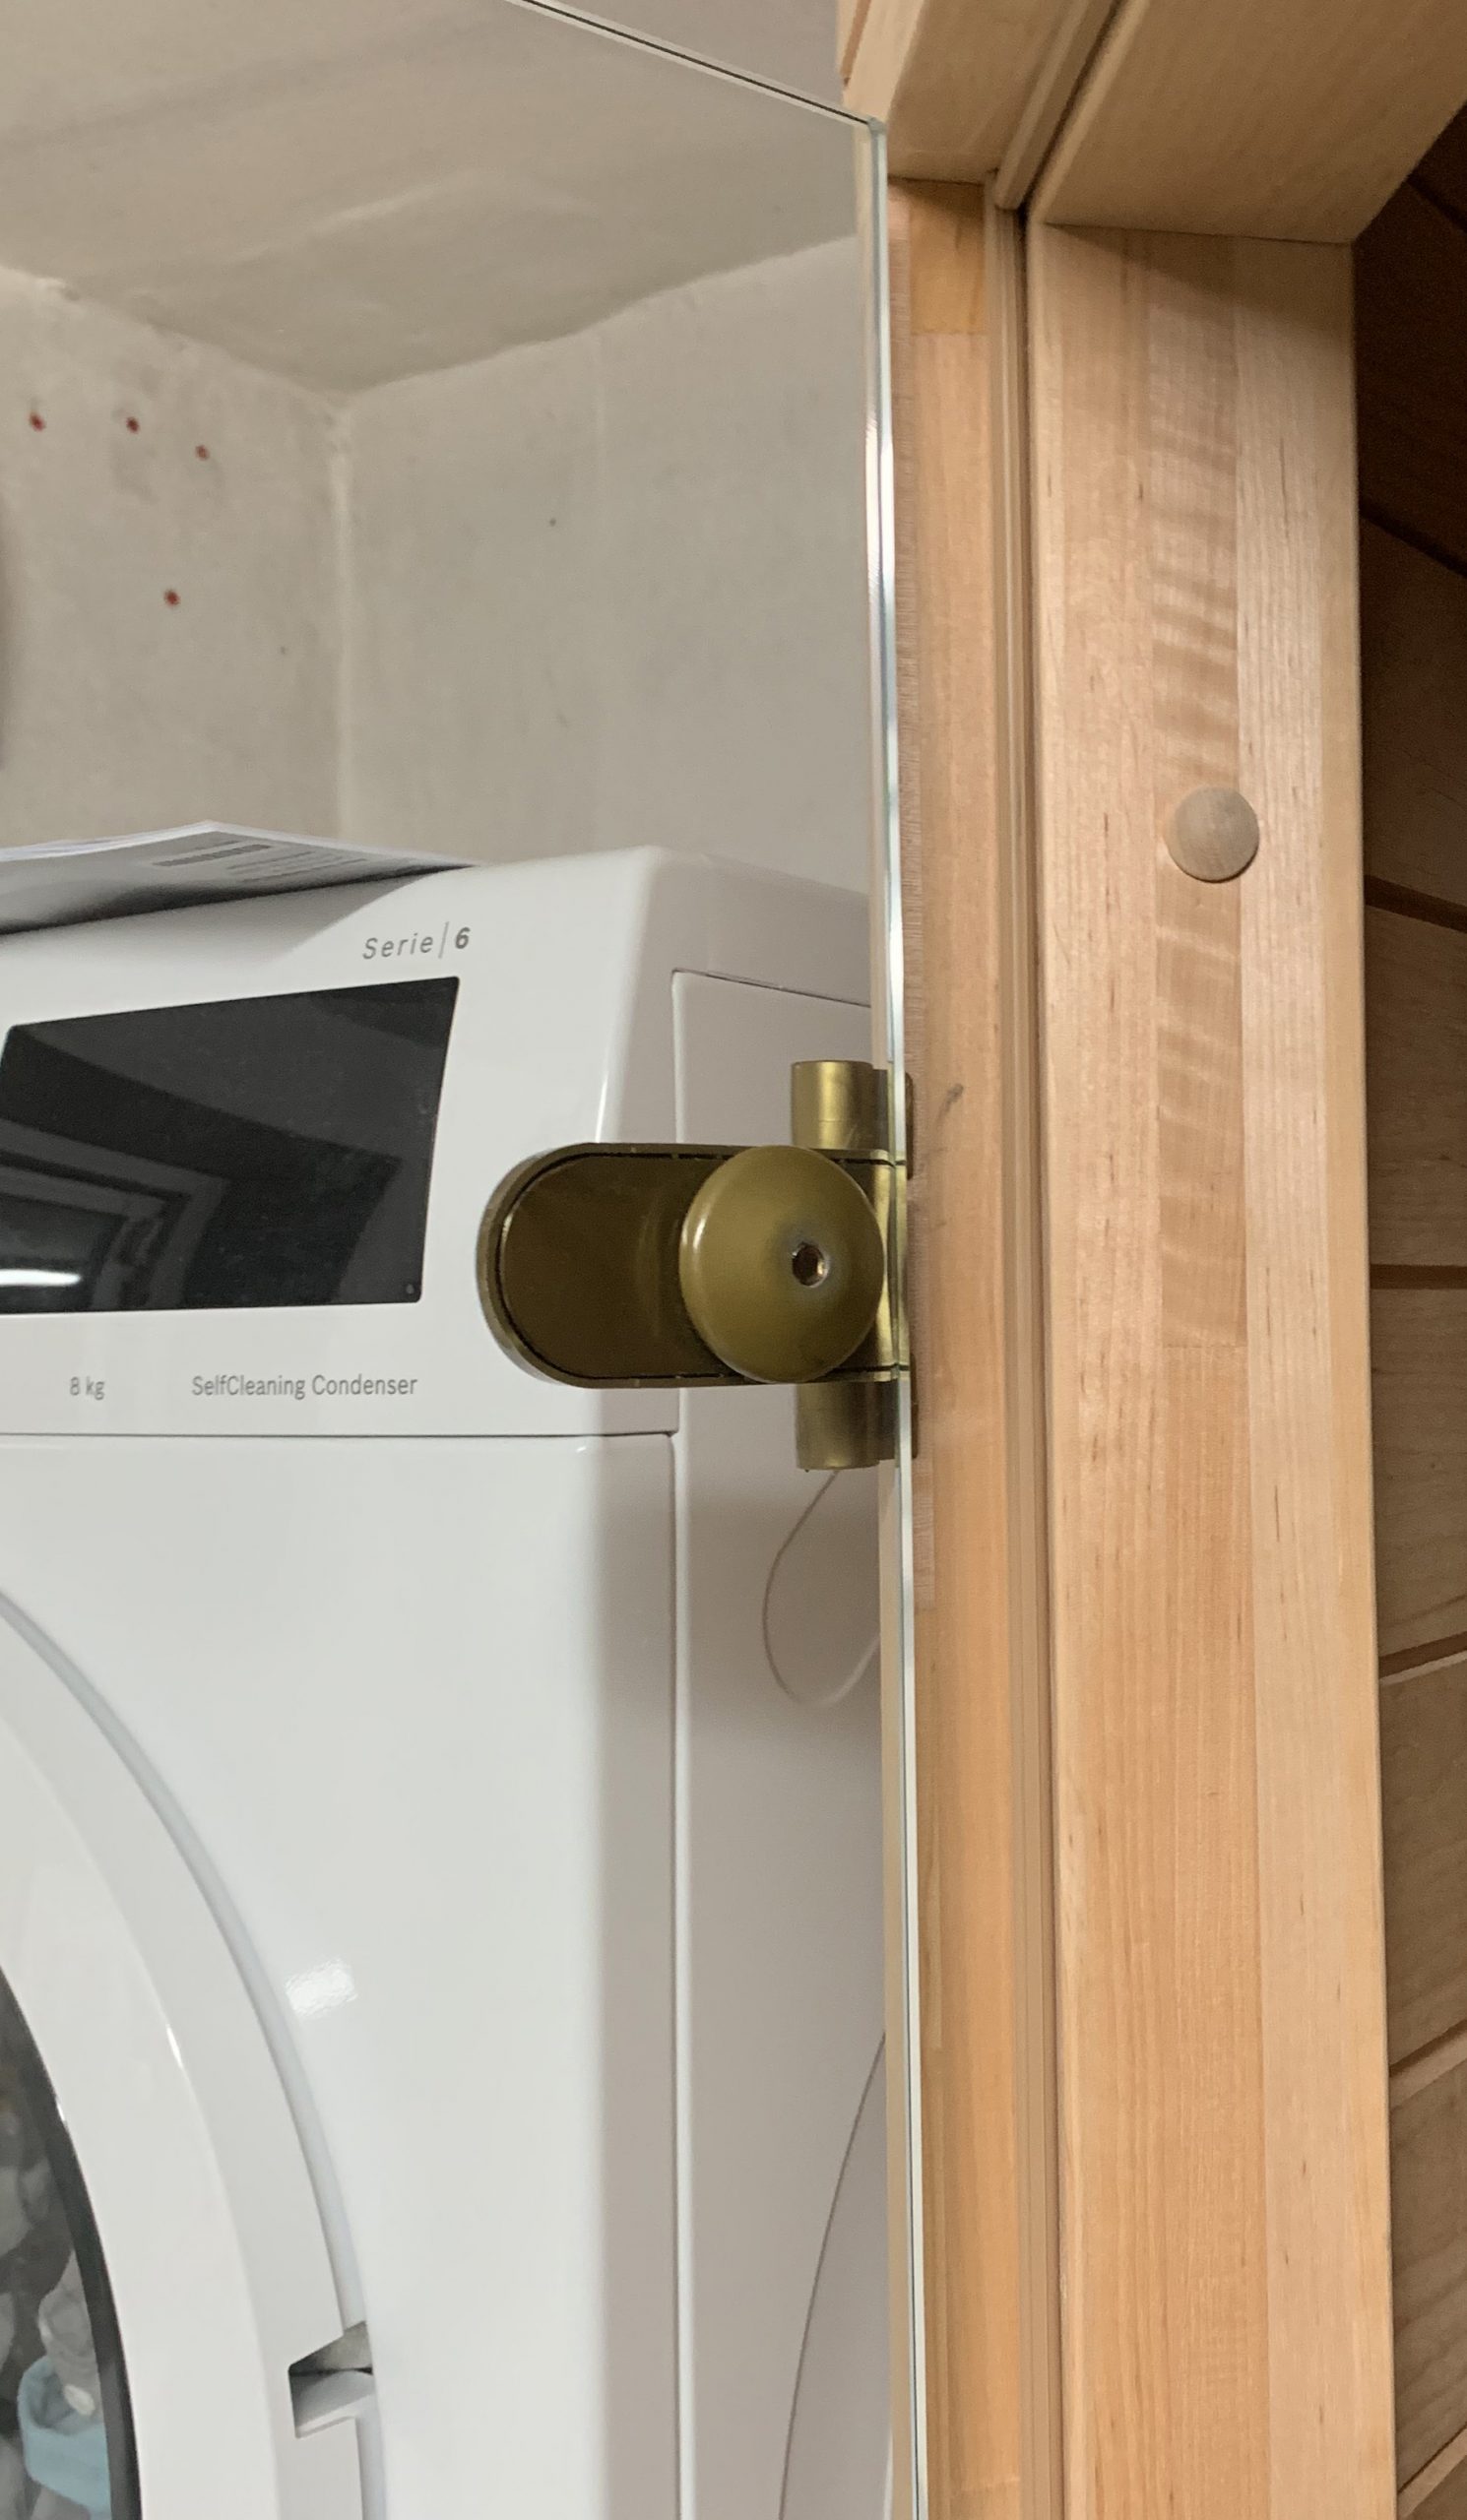
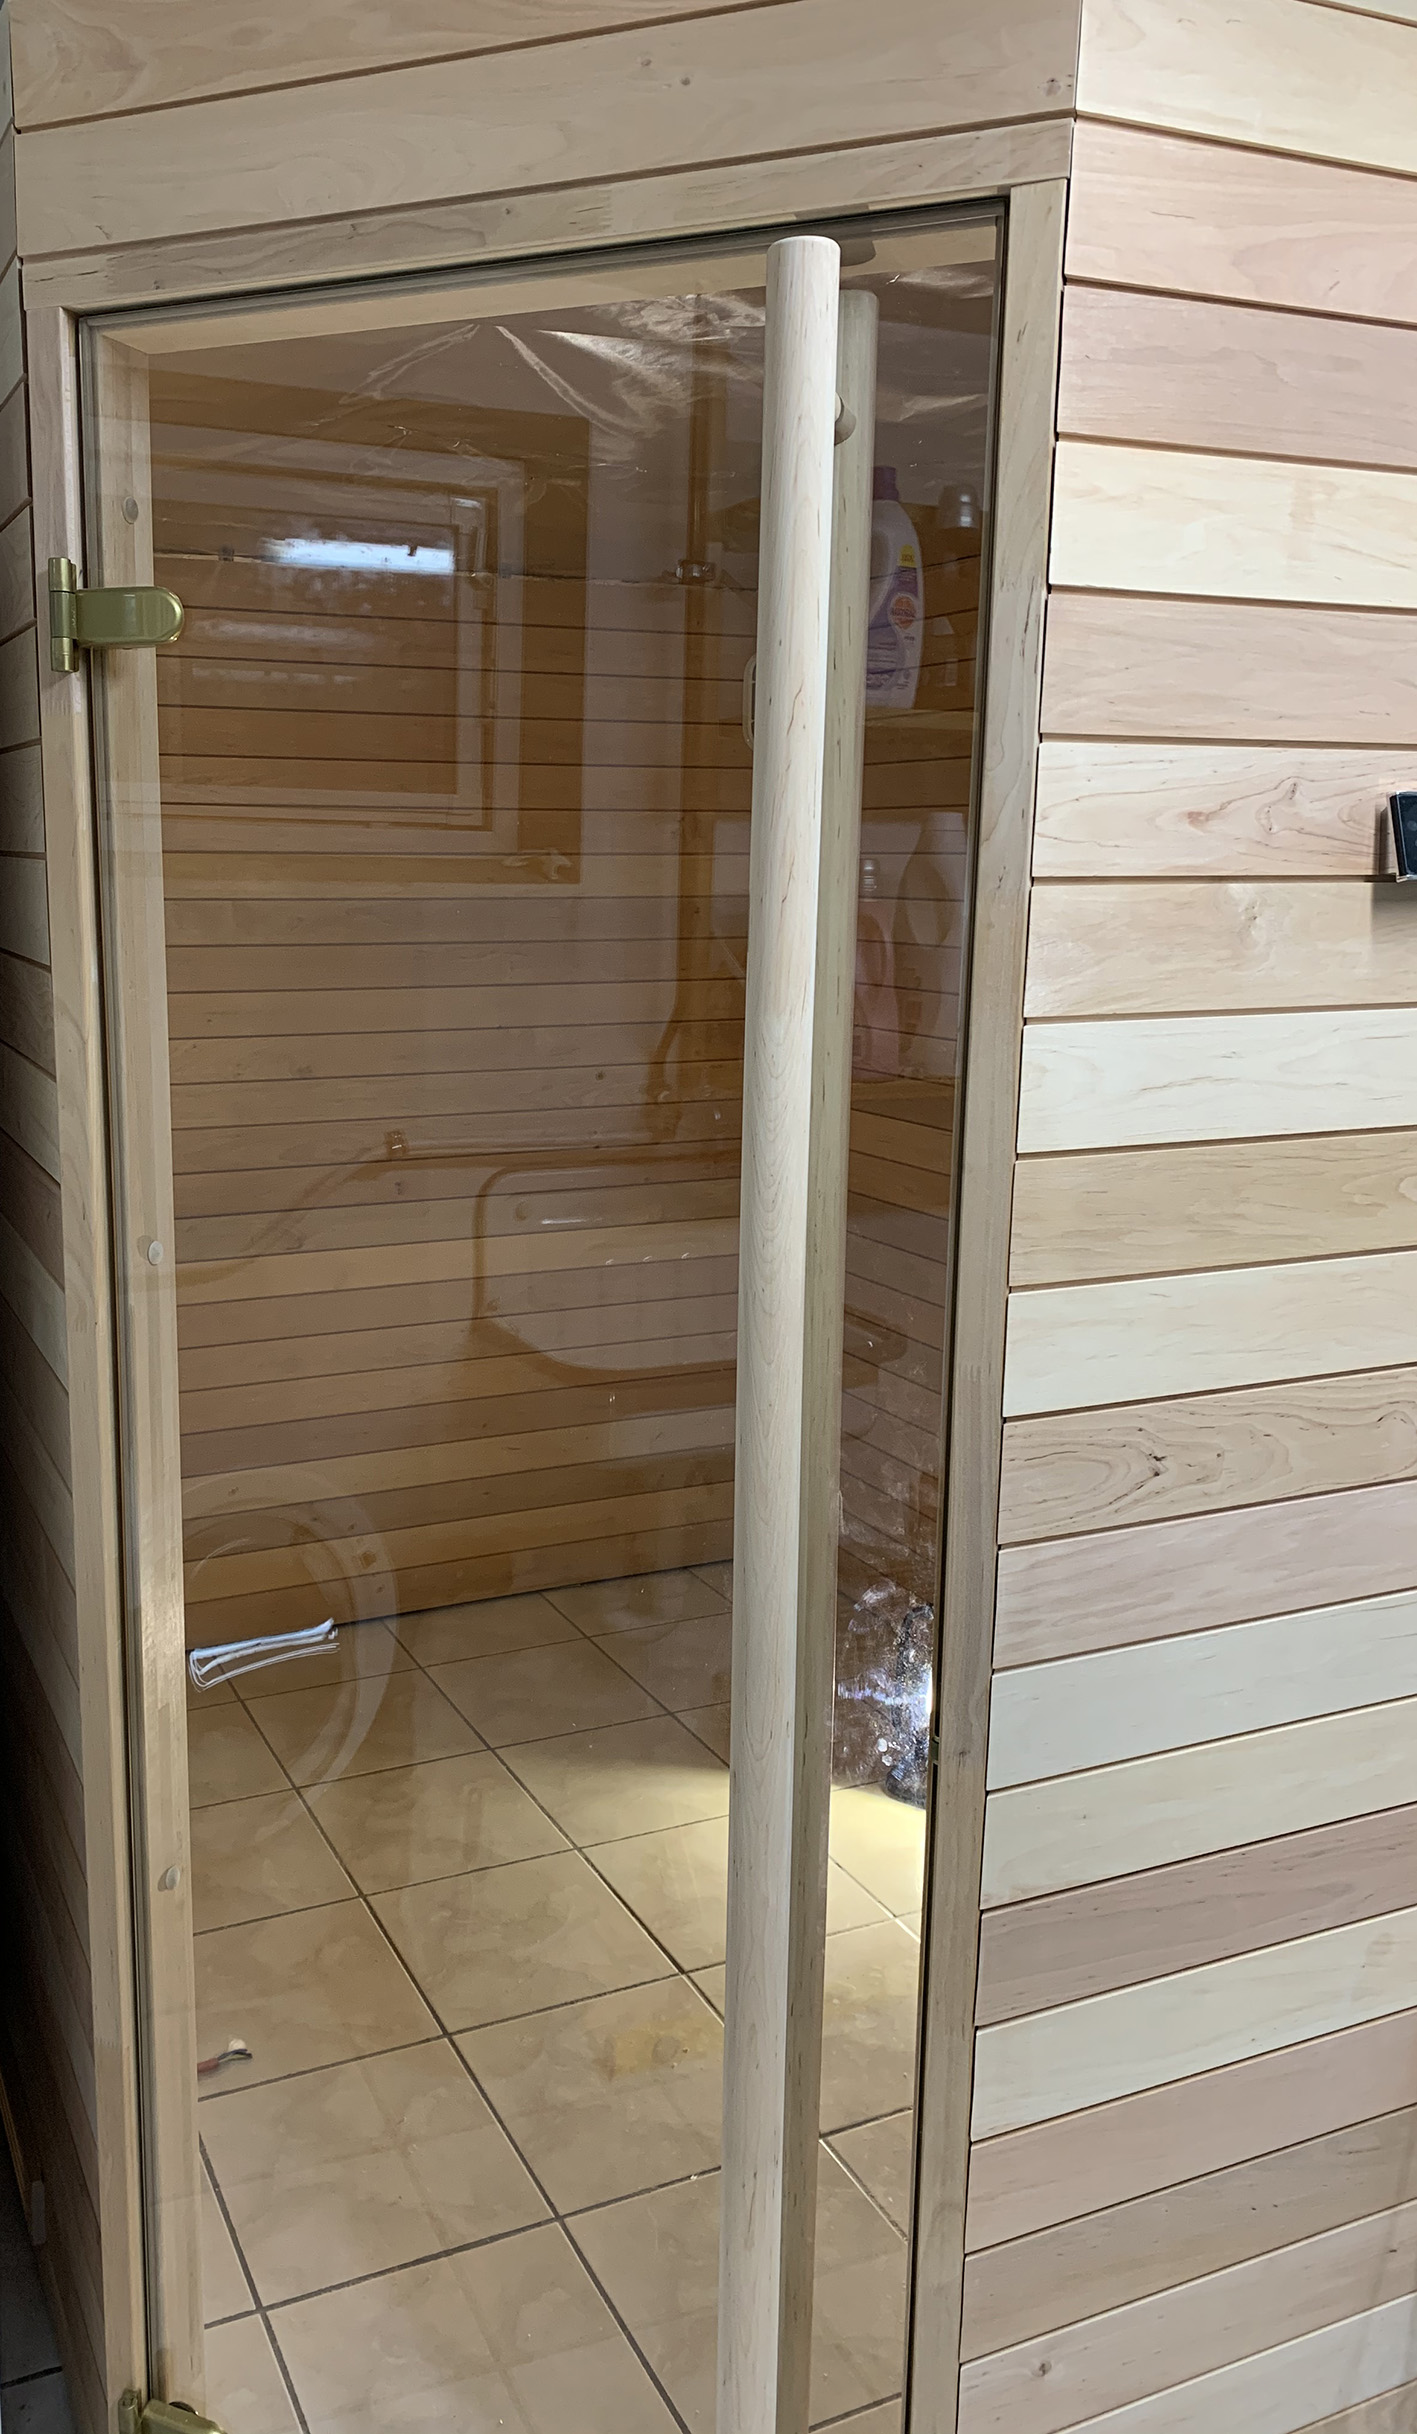
4. The sauna door
We opted for a glass door, because we found it more beautiful than a wooden door. The door gives the sauna a modern look. A glass door does not insulate very well, but because we already chose a fairly powerful oven anyway, this heat loss (which is also not that great) is compensated well. We also wanted the door without a threshold. This makes it easier to clean the floor in the sauna. In any case, in the beginning I had my doubts about whether a threshold-less door in the 5-corner construction would be stable enough.
We ordered the sauna door online quite cheaply. It is without a threshold, 69 centimeters wide (instead of the standard 59 centimeters) and has a beautiful modern vertical grip. Because the sauna door is custom-made, the production and delivery time was approximately 3 weeks.
Installing the door was very easy. I managed it completely by myself! Of course the safety glass (8 mm) is incredibly heavy. So I first removed the glass door from the frame, then mounted the frame, and then hung the security glass again in the frame.
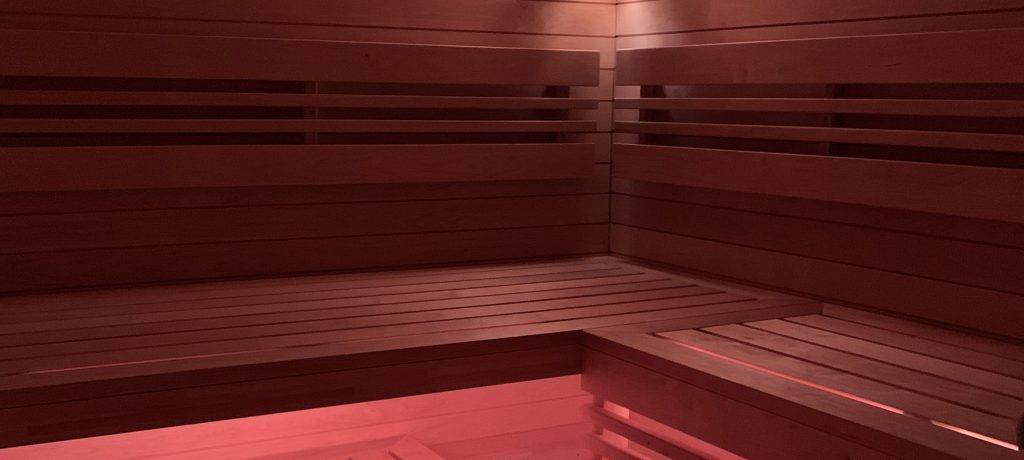
Now, the walls are finished, except for the covering with solide boards inside the cabin.