Technics
1. The sauna oven
The heart of the sauna is of course the sauna oven. The choice of the oven must always be tailored to the volume of the sauna room. If the oven is too weak, the sauna will not get (really) hot, or it will take a long time to heat up. But if the oven is too strong, the heating time will of course be shorter, but then the sauna stones cool down so much in between that a sauna infusion is no longer possible.
We chose the manufacturer Harvia, which stands for Finnish quality in the sauna world. We liked the model “The Wall” which – as the name suggests – is attached to the wall. That model is available in a steel look and a black version. The latter convinced us.
The decision about the power of the oven (6kW or 9kW) was quite difficult. The volume of our sauna area is almost 8 cubic meters. This means that our cabin is at the upper limit of the 6kW variant and the lower limit of the 9kW variant. Because we have a full glass door right next to the oven (which in any case causes more heat loss), we opted for the 9kW model. This way, the cabin heats up quickly, but infusion sessions are also very pleasant.
I have to admit that connecting the oven was an absolute horror. A sauna must always be connected by a professional, because high voltages have to be connected. Also here. Yet, immediately after switching on the sauna, there was a serious short circuit. After we had checked all connections to the circuit board together, we could rule out that the short circuit was caused by incorrectly connected cables. So the short had to be in the oven. Eventually, I noticed that the connecting cables of the oven are so long and inflexible that they can potentially touch the bottom of the oven. In that case, fortunately, the loss current switch is activated, but first there is of course a serious bang… That should not be with this brand and this price. Finally we insulated all connections in the oven one more time with shrink tape. This finally solved the problem, and everything has worked flawlessly ever since.
2. The control unit
We wanted an oven with external controls, so that the cabin can be operated with a control panel outside the sauna. That is why I went looking for a Harvia controller that can regulate the temperature precisely (up to the degree), preferably with a touch display.
Then I discovered the model Harvia Xafir CS110. The control has a large control unit, which is located on the ceiling of the cabin. All cables are connected there. A data cable then leads to the touch display, on which the temperature can be set exactly. The advantage of the external control lies in the fact that you do not have to come close to the oven to switch the sauna on and off. In addition, the control can also switch on the wall lighting, and the external control has a lot of nice extra control options: delayed switch-on (to plan the sauna session), programmable drying times after the sauna session, and also the maximum switch-on time (maximum 6 hours). And also the measuring curve of the temperature sensor can be slightly adjusted if necessary. Price-quality, this product is absolutely great.
3. LED bench back-lighting
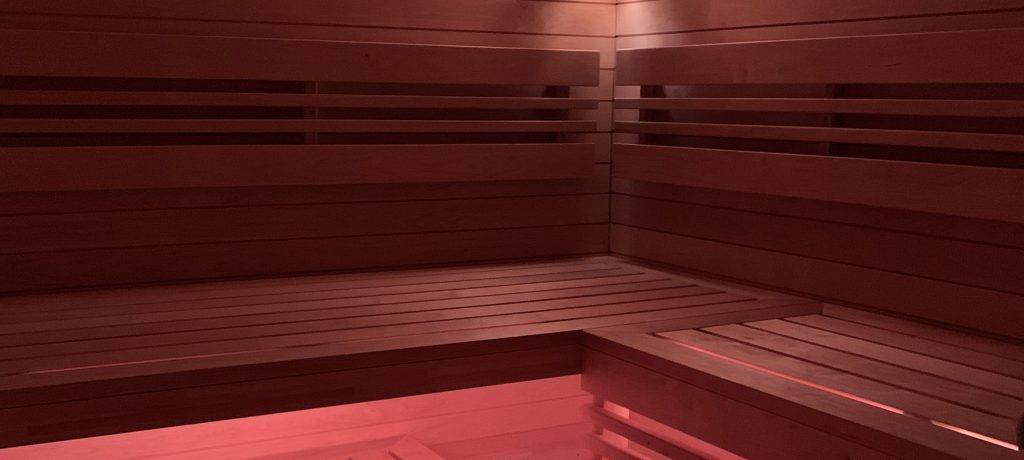
As an extra, we also wanted LED lighting under the top sauna bench. Ideally, this lighting should be able to be set in all possible colors, and it should also be dimmable. My online search showed that such LED strips, which are made specifically for the sauna, are quite expensive (from about € 250 upwards). These strips are then IP-66 protected against water and can withstand temperatures of up to 100 degrees.
Nice, but that is not necessary for bench lighting. Temperatures at the height of those benches remain relatively low (an estimated 50 to 60 degrees). Moreover, there is no flowing water over the LED strip, so less water-tightness (eg IP-44) is also sufficient.
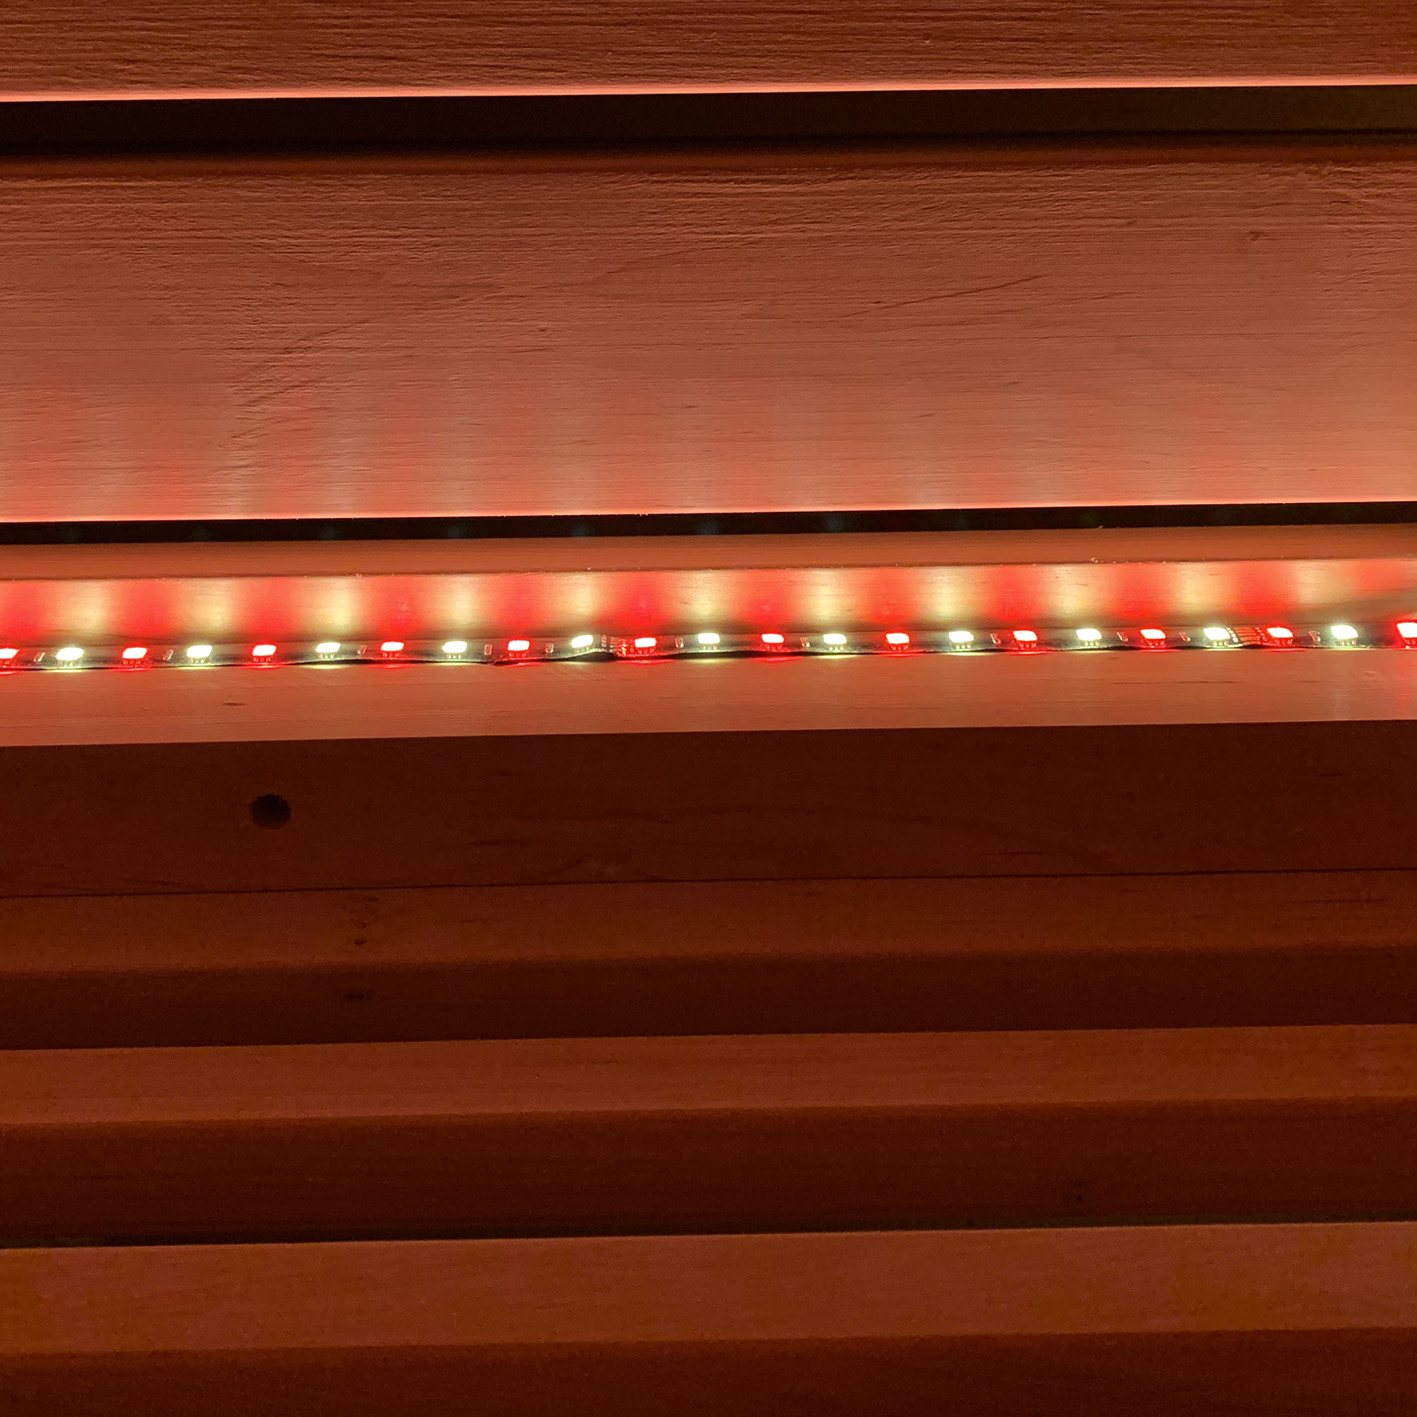
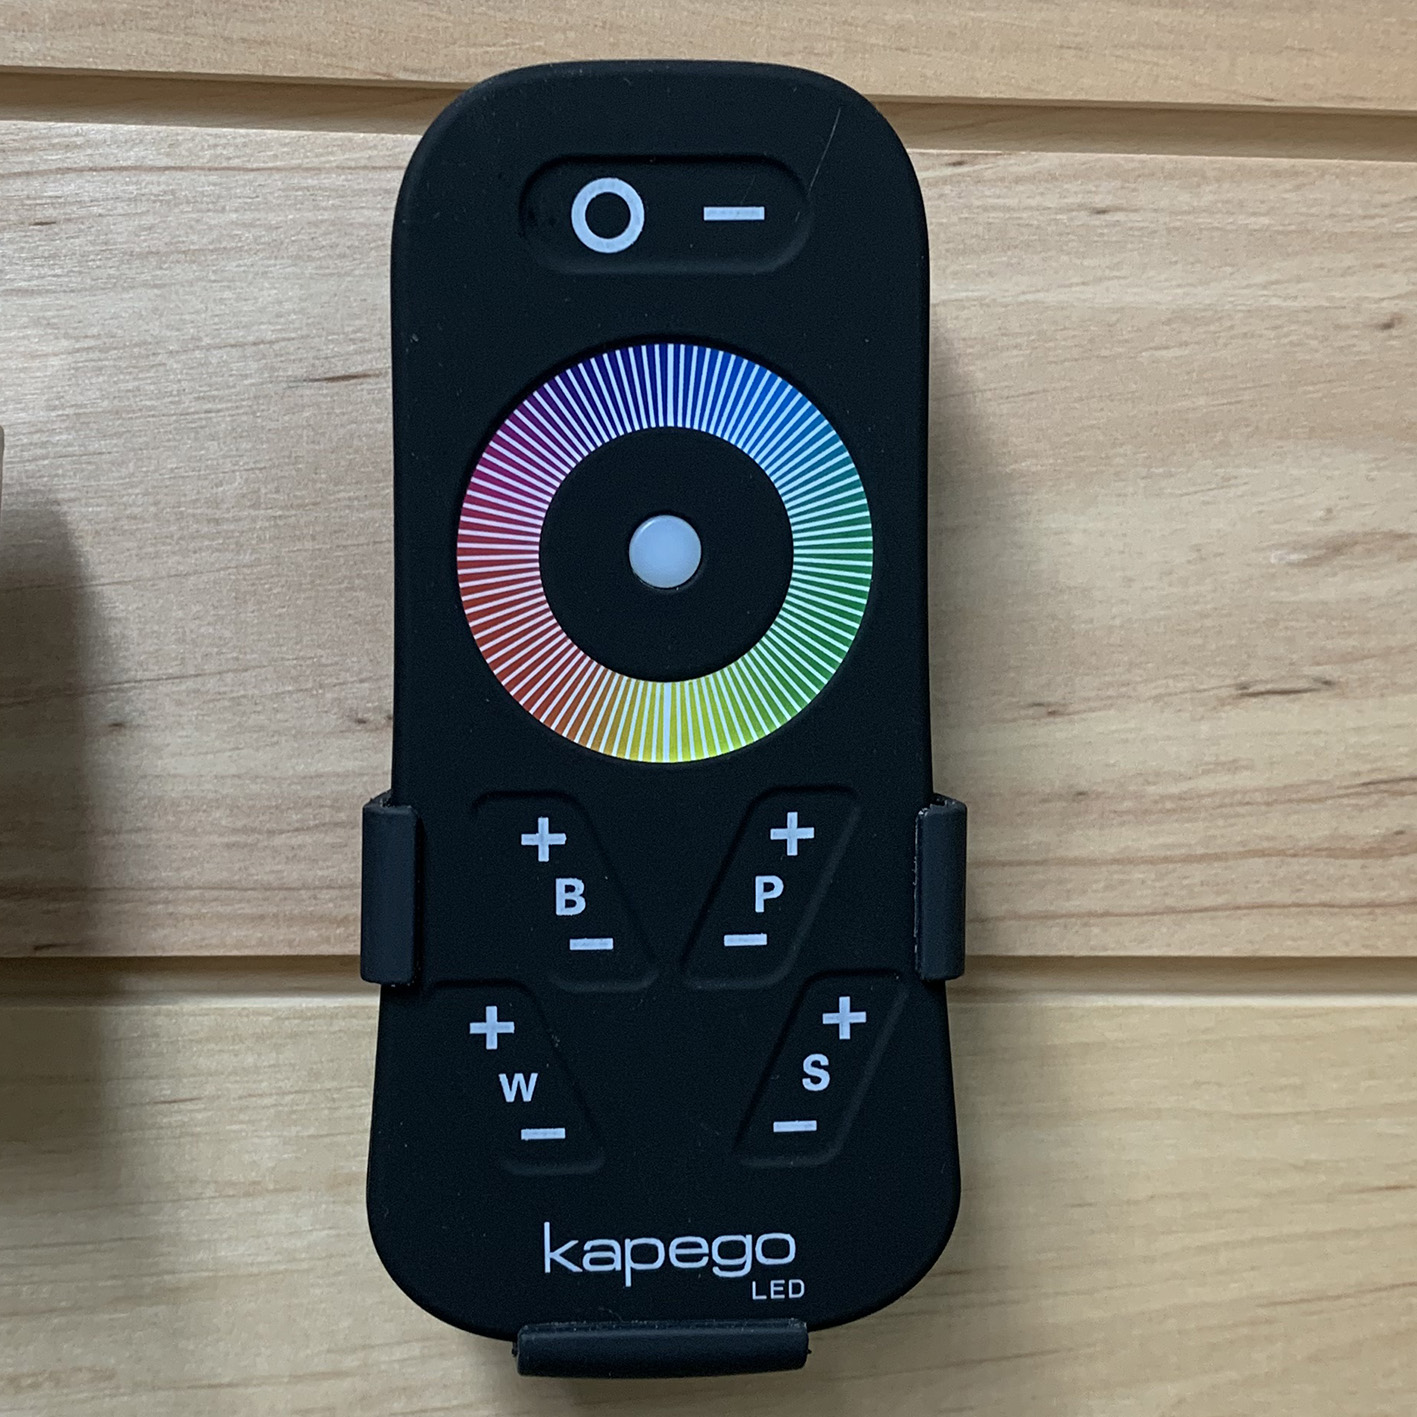
In the end I opted for a very cheap LED strip from Kapego, with remote control. Although the manual states that the product can only be used at 40 degrees, the LED strip works perfectly, and for much less money than the sauna LED strips (I spent approximately € 60 on de LED-strip, with an offer).
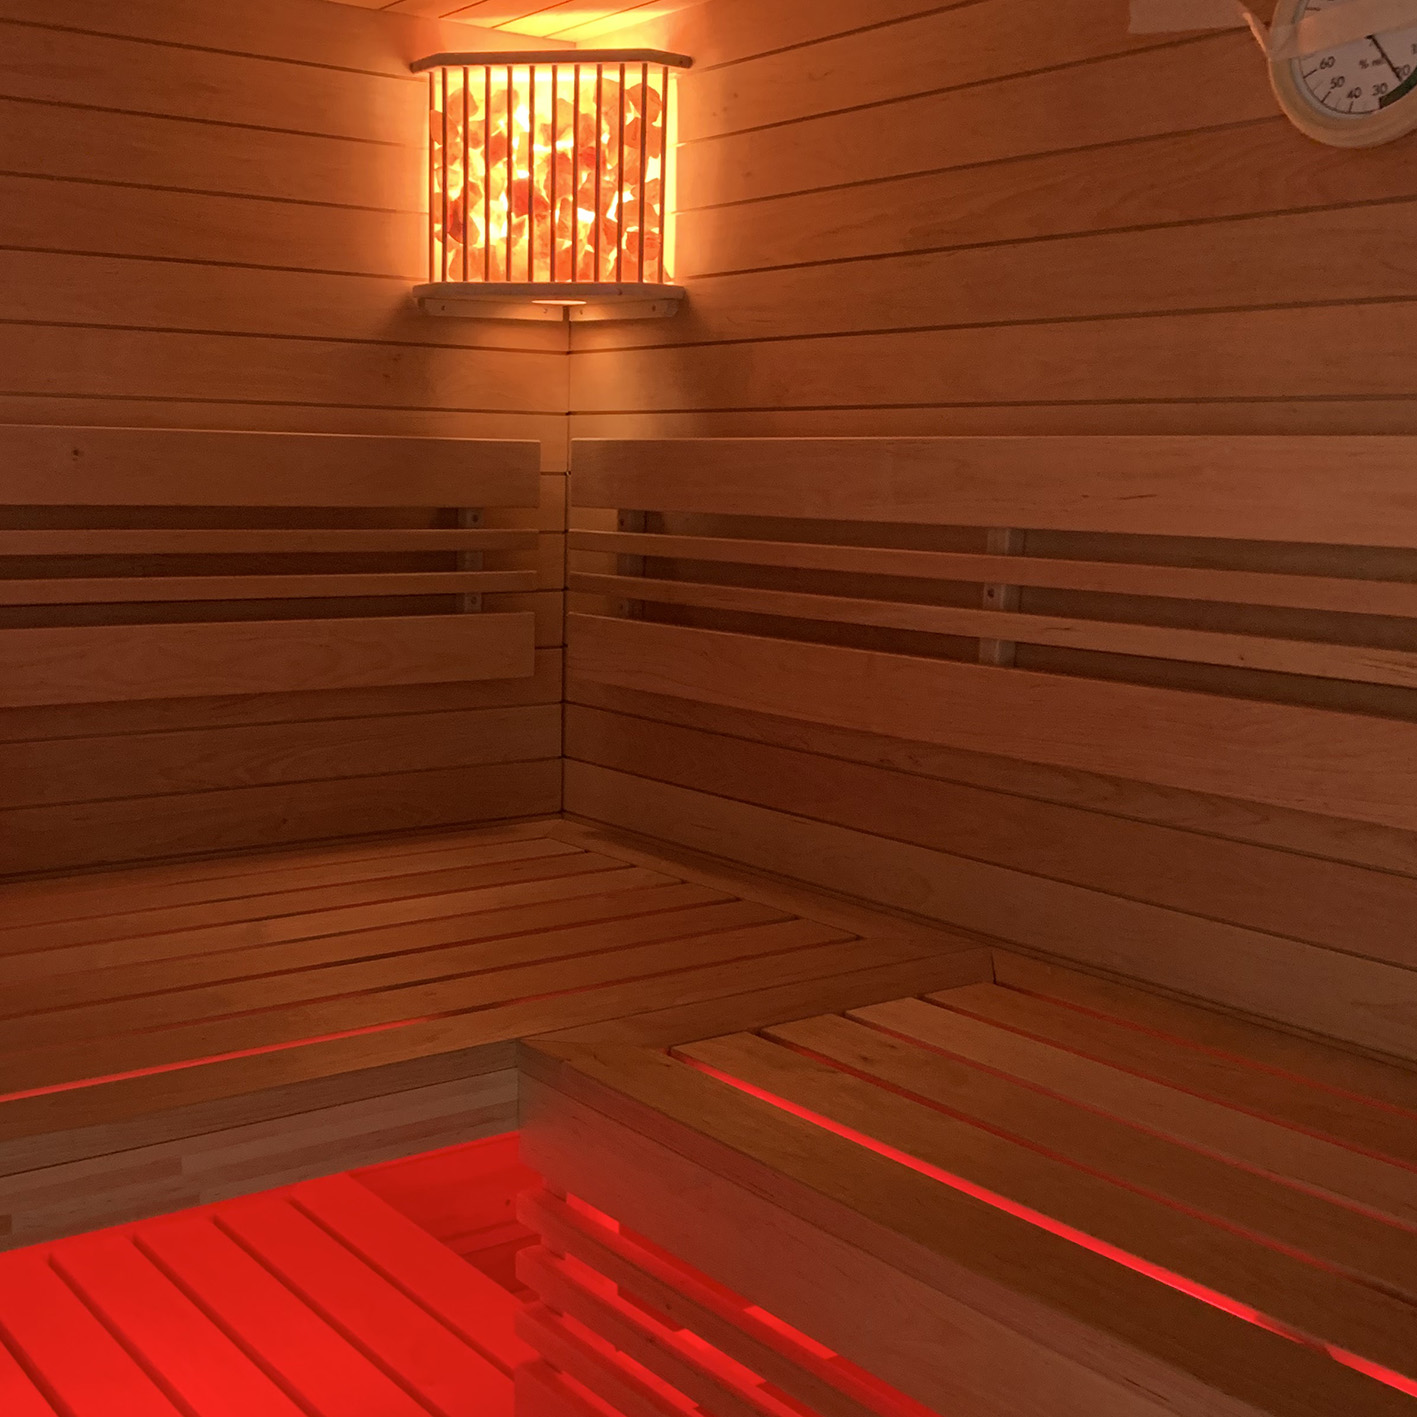
The strip is dimmable and can be set in many ways. We use the LEDs for every sauna session because the color light is very cozy, especially in combination with the salt crystal lamp in the corner of the sauna. We choose one color, and that’s it.
For those who would want, there is also a party program, with a lot of bling bling and flickering. Our three-year-old son loves it. We not so much.
4. Speakers and audio module
A big wish of my girlfriend was to be able to hear relaxing music in the sauna. Here too there are very expensive solutions on the market, specifically made for the sauna. They can be installed in the cabin near the floor. The advantage of this is of course that those music systems can be operated in the cabin itself. But from practice I can say: we don’t actually do that anyway …
That is why I opted for a simpler and, above all, much cheaper version: I attached sauna speakers to the wall under the benches, which are connected outside the cabin with an inexpensive audio module that supports Bluetooth audio streaming, USB and radio. No more is needed at all. All this can be easily operated with a remote control.
I chose speakers that are mounted on the wall, because I did not want to make large holes in the boards and insulation. Optically, an integrated speaker is of course more beautiful. On the other hand, the speakers are mounted underneath the sauna benches, so that they are almost invisible anyway. So the optics of the surface-mounted loudspeakers do not actually disturb at all.
For our use, this audio setup is more than enough. Usually we put on relaxing music at the beginning of a sauna session, either with our smartphone via bluetooth streaming, or via USB. But if you want to be able to adjust the volume of the music in the sauna itself, or go to the next song, then you have to invest in a different, much more expensive audio system.
Now, the sauna is completely finished.